Creative photography ideas don’t require a studio, a plane ticket, or a bag full of expensive gear — some of the best images come from a rainy Saturday and a willingness to experiment inside your own four walls. If you’ve been feeling stuck creatively or just don’t have the budget to travel right now, your living room, kitchen, and backyard hold more potential than you’d think. This guide walks through 15 practical projects you can start today with what’s already in your house.
You’ll learn how to use window light for portraits, how to shoot macro without a dedicated macro lens, how to build abstract images with ink and water, and how to turn a flat lay into a portfolio-worthy composition. Every idea below includes real camera settings, gear you can buy for under $50, and tips that work whether you’re shooting with a DSLR, a mirrorless camera, or just your phone.
Think of this less as a checklist and more as a creative gym. The goal isn’t to nail every technique on the first try — it’s to build habits, sharpen your eye, and rediscover why you picked up a camera in the first place.
Why Practicing Creative Photography Ideas at Home Actually Makes You Better
Limitations force decisions, and decisions are where creativity actually lives. Photographer Chase Jarvis built an entire philosophy around the phrase “the best camera is the one you have with you,” and that idea applies just as much to location as it does to gear. When you can’t drive to a new landscape, you learn to see your kitchen counter differently.
Working within a small space also speeds up your feedback loop. Instead of planning a full-day shoot around weather and travel time, you can test an idea, review it on your camera’s screen, adjust your setup, and reshoot within minutes. That kind of rapid iteration is exactly how professionals sharpen technique between paid jobs.
What You Gain Without Leaving the House
Home-based creative photography ideas build three skills fast: lighting control, composition discipline, and problem-solving under constraint. You start noticing how light falls across a countertop at 9am versus 4pm, or how moving a lamp six inches changes an entire mood. Those observations transfer directly to outdoor and studio work later.
There’s also a practical upside — you can shoot in your pajamas at midnight if inspiration hits. No scouting, no permits, no waiting for good weather.
Basic Gear You Already Own
Most of the projects in this article cost between $0 and $50, and several use nothing but items already sitting in a drawer. A phone flashlight, a bedsheet, a glass of water, and a stack of books to prop up your camera will get you through more than half of these ideas.
- A camera or smartphone (any recent model works fine)
- A tripod, or a stable stack of books/boxes as a substitute
- A white poster board or foam board (around $5 at a craft store)
- A basic LED flashlight (around $10)
- Household items: glassware, fruit, coins, string lights, a mirror
If you’re shooting primarily on a phone, it helps to understand your device’s manual controls before diving in — Smartphone Camera Settings Explained for Better Photos covers exposure lock, focus, and ISO adjustments that make a real difference indoors.
Creative Photography Ideas Using Light and Shadow
Light and shadow are the cheapest special effects in photography, and they cost nothing but patience. These three projects teach you to manipulate a single light source in ways that translate directly into portrait and product work later.
Light Painting with a Flashlight or Phone Light
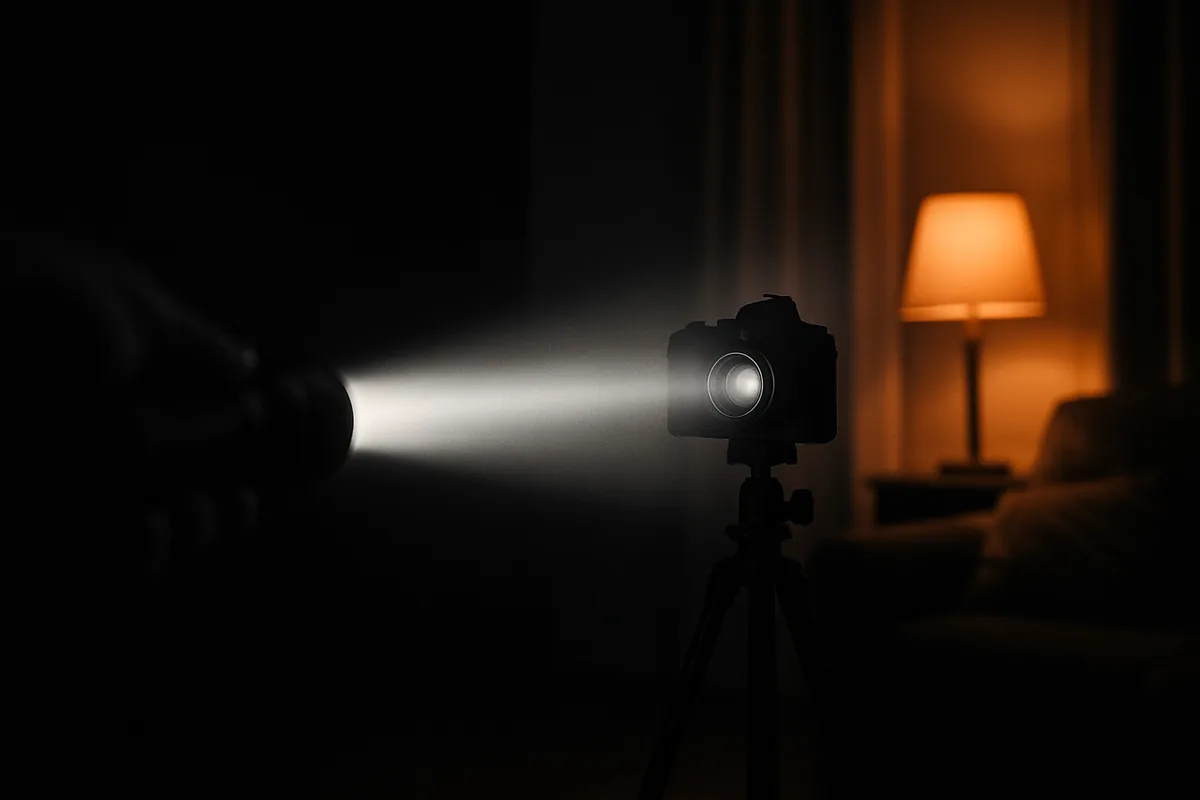
Light painting is one of the most satisfying creative photography ideas for a dark room and a long exposure. Set your camera on a tripod, switch to manual mode, and dial in ISO 100, f/8, and a shutter speed between 15 and 20 seconds. Turn off all the lights, open the shutter, and “draw” shapes in the air with a $10 LED flashlight or your phone’s flashlight while walking through the frame.
Wear dark clothing so you don’t show up in the shot, and keep moving so you don’t create a visible silhouette. Review your first attempt, adjust your drawing speed, and try again — this is trial and error by design.
Window Light Portraits
Soft, flattering portrait light doesn’t require a $200 softbox — it requires a north or east-facing window and the right time of day. Shoot between 8am and 10am when light is soft and diffused rather than harsh and direct. Position your subject at a 45-degree angle to the window, about two to three feet away, so light wraps around the face instead of flattening it.
A $15 gel light like a Neewer clip-on LED can add a colored accent if you want to experiment beyond natural light. Set your aperture around f/2.8 for a soft, blurred background if you’re using a camera with interchangeable lenses.
Shadow Silhouettes on a Wall
Tape a plain sheet or hang a white bedsheet on a wall, place a single light source (a desk lamp works) a few feet behind your subject, and shoot from the front. The result is a graphic, high-contrast silhouette that reads as intentional and editorial rather than accidental. Try profiles, hand gestures, or even shadows of household objects like plants or utensils for variety.
If you’re building portrait skills for future travel or event work, these lighting exercises translate directly — check out Phone Portrait Photography: 12 Tips for Better Results for more on working with available light.
Still Life and Macro Photography Ideas at Home
Still life and macro work reward patience more than expensive equipment, which makes them ideal home photography projects. You’re training your eye to notice texture, pattern, and small imperfections that most people walk right past.
Kitchen Still Life with Everyday Objects
Coffee beans, citrus slices, dried pasta, and a chipped ceramic mug can all become compelling subjects with the right light and arrangement. Set up near a window, use a piece of white poster board as a reflector on the opposite side to fill in shadows, and shoot at f/4 to f/5.6 for enough depth of field to keep your whole subject sharp.
This is one of those still life photography at home ideas that improves fast with repetition — try the same three objects five different ways before moving on.
Macro Shots of Textures and Household Items
You don’t need a dedicated macro lens to get close-up detail. A set of macro extension tubes (around $25 on Amazon for a basic Kenko or Fotasy set) fits between your camera body and lens, letting you focus much closer than normal. Alternatively, reversing a 50mm lens and holding it backward against the camera mount creates a similar (if fiddlier) effect.
Good subjects: fabric weave, tree bark brought in from outside, salt crystals, or the surface of a leaf. Use a tripod and shoot at f/2.8 to f/5.6, since depth of field shrinks dramatically at macro distances.
Water Droplet Photography
Ice cubes melting on a dark plate, or water droplets clinging to a leaf misted with a spray bottle, make for striking macro images with real depth. Shoot close, keep your aperture around f/4, and use a tripod since focus is extremely sensitive to camera shake at this distance. Backlighting the droplets with a window behind your subject makes them glow rather than look flat.
| Project | Suggested Aperture | Light Source | Approx. Gear Cost |
|---|---|---|---|
| Kitchen still life | f/4 – f/5.6 | Window + reflector | $5 (poster board) |
| Macro textures | f/2.8 – f/5.6 | Window light | $25 (extension tubes) |
| Water droplets | f/4 | Backlit window | $0 – $10 (spray bottle) |
Creative Photography Ideas for Portraits Without a Studio
You don’t need a second person or a rented space to practice portraiture. These creative photography ideas use yourself, a mirror, or in-camera tricks to build a portrait portfolio from your bedroom or living room.
Self-Portraits on a Timer or Remote
Set your camera on a tripod, switch on the 10-second self-timer, and give yourself time to get into position and relax your expression before the shutter fires. A $20 Bluetooth remote (many work with both Canon and Sony bodies) removes the guesswork entirely and lets you trigger the shot exactly when you’re ready. Shoot in burst mode if your camera supports it, since natural expressions rarely happen on the very first frame.
Double Exposure Portraits in Camera
Cameras like the Fujifilm X-T5 include a built-in multiple exposure mode that blends two frames directly in-camera — shoot a portrait silhouette first, then layer a texture like tree branches or city lights on top. If your camera doesn’t have this feature, you can recreate the effect in post using blend modes in Adobe Lightroom or Photoshop. Start with a dark, simple first exposure so the second image has room to show through.
Mirror and Reflection Portraits
Bathroom mirrors, glass tabletops, and even a dark phone screen can all produce interesting reflection portraits. Shoot at an angle to avoid capturing your camera directly in the reflection, and experiment with partial reflections that only show half a face or a hand. This is a favorite among photography ideas for beginners because it teaches composition awareness without requiring any extra equipment.
Abstract and Experimental Photography Projects
Abstract work is where creative photography ideas get genuinely fun, because there’s no “wrong” answer — you’re chasing color, shape, and texture rather than a literal subject.
Photographing Through Glass, Plastic Wrap, or Water
Stretch plastic wrap loosely over a picture frame and shoot a subject through it for a soft, dreamy blur. Shooting through a textured shower door does something similar and works especially well with colorful subjects like flowers or string lights placed on the other side. Focus manually since autofocus often struggles to lock onto a subject through an obstruction.
Prism and Crystal Light Effects
An $8 glass prism, held close to your lens, bends and refracts light into rainbow streaks and reflections across your frame. Point your subject toward a bright window or the sun, hold the prism at the edge of your lens, and rotate it slowly while checking your live view screen. This trick works on phones too, and it’s one of the most popular creative photo projects on Instagram right now because the results look far more complex than the setup actually is.
Smoke and Ink in Water Photography
Drop food coloring or ink into a clear glass bowl of water, set against a plain white background, and photograph the swirling patterns as they unfold. Use a shutter speed around 1/250s to freeze the movement crisply, and shoot in burst mode since the shapes change every fraction of a second. Backlight the bowl from behind with a lamp or window for the cleanest, most saturated colors.
Tip: place a sheet of white paper behind the glass bowl, angled slightly, so no reflections or background clutter show through the water.
Turning Everyday Objects Into Creative Photography Ideas
Some of the most shareable creative photography ideas come from objects you’d normally overlook — the fruit bowl, your kid’s Lego bin, or a stack of magazines.
Food Photography with Natural Light
Style a simple dish — a bowl of pasta, a sliced avocado, a cup of coffee — near a window and shoot with the light coming in at roughly a 45-degree angle rather than straight on. Side lighting like this brings out texture in ways that flat, front-facing light never will. If you want a deeper dive into styling and angles, Smartphone Food Photography: Tips for Better Food Photos covers composition tricks that work with any camera.
Toy and Miniature Scene Photography
Action figures, Lego minifigures, and dollhouse furniture make surprisingly good subjects for storytelling images. Get down at eye level with your toy, use a shallow depth of field around f/2.8, and blur the background so the scene reads like a real, full-size environment. Adding props like a spoon as a “boat” or flour as “snow” pushes the concept further.
Flat Lay Compositions
Flat lays — overhead shots of neatly arranged objects — are one of the easiest creative photo projects to start with because you control every element in the frame. Lay a $5 poster board or a plain bedsheet as your background, arrange objects with consistent spacing, and shoot straight down from a chair or step stool. Group items by color or theme (all blue objects, all breakfast items) for a cohesive, intentional look.
- Choose a limited color palette (2-3 colors max)
- Leave breathing room between objects — don’t overcrowd the frame
- Shoot directly overhead to avoid distortion at the edges
Editing and Sharing Your Home Photography Projects
The edit is where a decent shot becomes a genuinely strong one, and you don’t need expensive software to get there. Free and low-cost tools handle almost everything a beginner needs.
Free and Affordable Editing Tools
Snapseed, a free app from Google available on iOS and Android, handles exposure, curves, and selective adjustments well enough for most home projects. If you want more control and consistency across a series, Adobe Lightroom runs $9.99 a month and lets you build custom presets you can reuse across an entire themed set. For phone-shot images specifically, How to Get Sharper Photos With Your Phone is worth a look before you even get to editing, since sharpness issues are easier to fix in-camera than after the fact.
Building a Themed Portfolio or Instagram Series
Instead of posting single images at random, group 5 to 10 shots from one project — say, your water droplet macro series or your flat lay experiments — into a cohesive set. Consistent editing (same color tones, similar cropping) makes even simple home photography projects look like a deliberate body of work. Share the series on Instagram or a personal portfolio site and ask for specific feedback, like “does the lighting in shot 3 work?” rather than a general “thoughts?”
For more background on how photography as a medium developed and where these techniques come from, the Wikipedia entry on photography is a solid starting reference, and the Smithsonian Institution hosts photography collections and exhibits worth studying for composition ideas.
Your Next Shoot Starts in the Next Room
You don’t need a studio, a plane ticket, or new gear to keep growing as a photographer — you need a willingness to look at your kitchen counter, your bathroom mirror, or your kid’s toy bin as a set. Pick one idea from this list, block off 30 minutes, and shoot ten frames before you second-guess the concept. Then pick a second idea next week, and start stacking these creative photography ideas into a real practice habit rather than a one-time experiment.
Once you’ve got a handful of home projects under your belt, take those same lighting and composition instincts outside. Browse Travel Photography Tips for Your Next Trip when you’re ready to apply what you’ve learned beyond your own four walls.
Frequently Asked Questions
What are some creative photography ideas I can try without buying new gear?
Start with light painting using a flashlight, window light portraits, shadow silhouettes, or flat lay compositions with items you already own. A tripod and a single household lamp are often all you need to get started.
What is the easiest creative photography idea for a total beginner?
Window light portraits are the easiest starting point. Just place your subject near a window during soft morning light, turn off overhead lights, and shoot at a wide aperture like f/2.8 for a simple, flattering result.
How do I do light painting photography at home?
Set your camera on a tripod in a dark room, use manual mode with settings around ISO 100, f/8, and a 15-20 second shutter speed, then move a flashlight or phone light through the frame during the exposure.
Do I need a macro lens for macro photography ideas at home?
No, a true macro lens helps but isn't required. A set of extension tubes (around $25) or even a reversed 50mm lens can get you close-up detail shots of textures, water droplets, and small objects.
What household items work best for abstract photography projects?
Plastic wrap, a glass prism, a clear bowl of water, and food coloring are inexpensive favorites. They create blur, light flares, and organic patterns that are hard to replicate any other way.
How can I make my home photos look more professional?
Control your light source, keep backgrounds simple and uncluttered, shoot on a tripod for sharper images, and edit consistently with a tool like Lightroom or Snapseed to give your series a unified look.

Mark Finley is a professional photographer, educator, and the founder of FormLovers. With years of experience behind the lens, Mark has transitioned from a passionate hobbyist to an industry professional, capturing stunning visuals and mastering the business of photography.