Phone portrait photography has come a long way from blurry selfies and washed-out group shots, and today’s smartphones can produce images that rival what you’d get from a dedicated camera in the right hands. This guide covers twelve practical techniques for getting sharper, more flattering, and more professional-looking portraits using nothing but the phone in your pocket. You’ll learn camera settings, lighting tricks, posing prompts, editing workflows, and the gear worth buying if you want to take things further.
Whether you’re shooting with an iPhone 15 Pro, a Samsung Galaxy S24, or a budget Android device, the core principles of phone portrait photography stay the same. Good light, thoughtful composition, and a relaxed subject matter more than any spec sheet. By the end of this article, you’ll have a clear, repeatable process for turning everyday phone shots into portraits people actually want to frame.
What Makes Phone Portrait Photography Different
Before diving into tips, it helps to understand why phone portrait photography behaves differently than shooting with a DSLR or mirrorless camera. The gap isn’t about talent or creativity, it’s physics. Once you understand the limitations, you can work around them instead of getting frustrated by them.
Sensor Size and Depth of Field Limitations
The main sensor in an iPhone 15 Pro measures roughly 1/1.28 inch, while a full-frame mirrorless camera like a Sony A7 IV has a sensor around 35mm, dozens of times larger in surface area. Bigger sensors gather more light and naturally produce a shallower depth of field, which is why traditional cameras create that soft, creamy background blur without any software help.
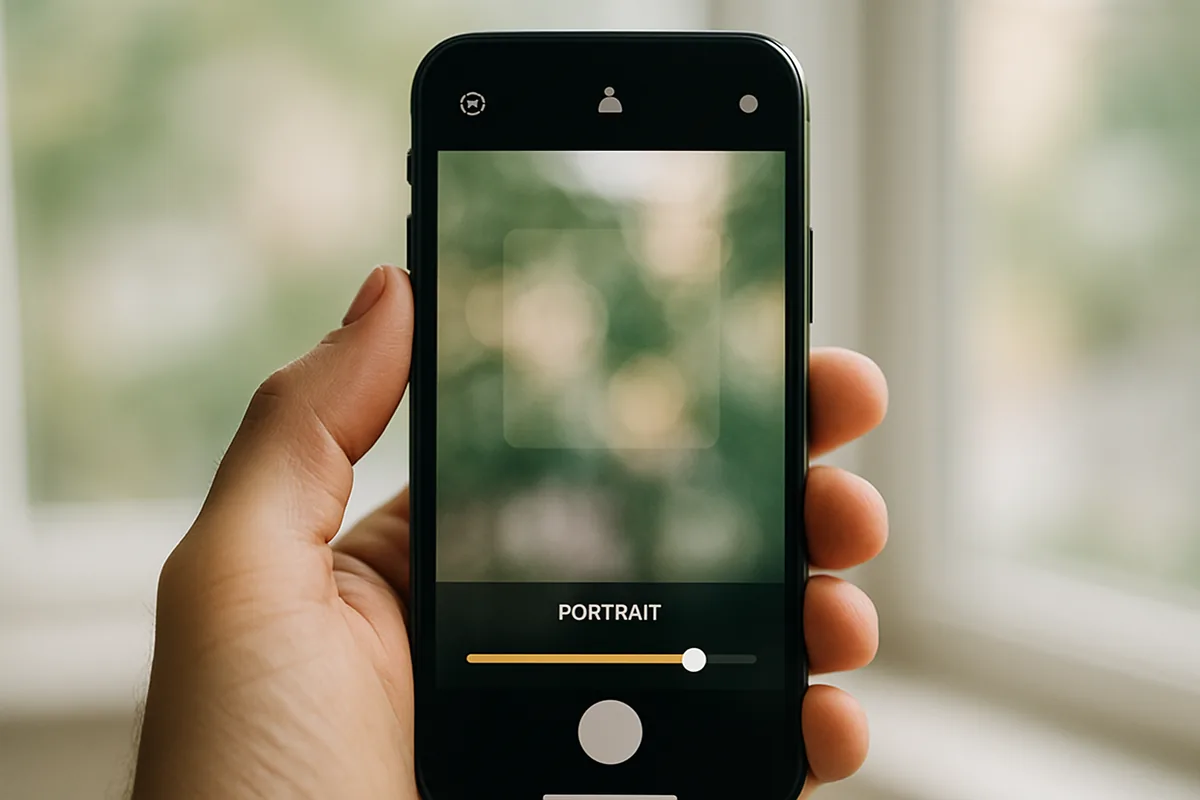
Phones can’t physically replicate that optical blur with a single lens, which is exactly why Portrait Mode exists. It’s a workaround, not a shortcut, and knowing this changes how you shoot.
Why Portrait Mode Isn’t Magic
Portrait Mode uses computational photography, essentially the phone takes depth information (often from a second lens or LiDAR sensor) and calculates which pixels should stay sharp and which should blur. It works well on clean edges like hair against a plain wall, but it can struggle with fine details like stray hairs, glasses, or complex backgrounds like tree branches.
Understanding this helps you set realistic expectations for phone portrait photography. You’re not trying to fool anyone into thinking you used a $3,000 camera body. You’re using the tool you have skillfully enough that the results speak for themselves.
Master Your Phone’s Camera Settings for Portraits
Good phone portrait photography starts before you even tap the shutter. Spending five minutes adjusting your default camera settings will save you dozens of throwaway shots later.
Turning On Grid Lines and Focus Lock
On an iPhone, go to Settings > Camera and toggle on Grid. On Android, this is usually under Camera Settings > Grid Lines. The grid gives you a visual rule-of-thirds overlay so you can align eyes and faces without guessing.
For focus, tap and hold on your subject’s face until you see AE/AF Lock (iPhone) or a locked focus icon (Android). This prevents the camera from hunting for a new focus point if your subject shifts slightly or something moves through the frame.
Using Portrait Mode and Adjustable Bokeh (like the iPhone’s f/1.4 to f/16 simulated aperture)
iPhone Portrait Mode lets you adjust the simulated aperture from f/1.4 (heavy blur) up to f/16 (minimal blur) after you’ve taken the shot, which gives you flexibility if the initial blur looks unnatural around the edges. Start around f/2.8 to f/4 for a look that blurs the background without eating into fine details like hair strands.
Android phones vary by brand. Samsung’s Portrait mode offers similar background blur adjustment, while Google Pixel phones use a feature called Portrait Light to add simulated directional lighting after the fact. Test both in-camera and post-shot adjustments to see which gives you more control.
Shooting in RAW with Apps like Lightroom Mobile or ProCamera
Standard phone photos are compressed JPEGs or HEICs, which limit how much you can push exposure and color in editing. Shooting RAW (or Apple’s ProRAW on newer iPhones) captures significantly more image data.
For iOS, apps like Halide ($59.99 one-time) or ProCamera ($9.99) give you manual RAW controls plus focus peaking. On Android, Adobe Lightroom Mobile’s free camera has a built-in RAW mode, and Open Camera (free) offers manual controls for phones running Android 5.0 and up. If you’re new to manual settings altogether, our beginner’s guide to smartphone photography walks through the basics step by step.
Find and Use Natural Light Like a Pro
Lighting matters more in phone portrait photography than almost any other factor, because phone sensors have less dynamic range than larger cameras and recover less detail from shadows and highlights. Learning to read available light will improve your results more than any accessory purchase.
Shooting During Golden Hour
Golden hour happens roughly 30 to 45 minutes after sunrise and before sunset, when the sun sits low on the horizon and casts a warm, soft, directional light. This is consistently the most flattering natural light for phone portrait photography, since it wraps around faces gently instead of creating harsh contrast.
Check a weather app or the free PhotoPills app for your local sunset time, then plan to arrive at your location about 20 minutes before golden hour starts so you’re not rushing to set up.
Using Window Light Indoors
A north-facing window (in the Northern Hemisphere) provides consistent, soft, indirect light throughout the day without the harsh directionality of direct sun. Position your subject facing the window at roughly a 45-degree angle, with the phone positioned between the subject and the light source.
If the light feels too contrasty, hang a white bedsheet or sheer curtain over the window to diffuse it further. This is one of the simplest setups in all of phone portrait photography and costs nothing beyond what’s already in your home.
Avoiding Harsh Midday Sun
Between roughly 11 a.m. and 2 p.m., the sun sits nearly overhead and creates deep shadows under the eyes, nose, and chin, an effect commonly called “raccoon eyes.” If you must shoot during this window, move your subject into open shade, like under a tree canopy or beside a building, rather than shooting in direct sunlight.
For a deeper breakdown of working with available light in different conditions, check out our full guide on natural light photography with your phone.
Composition Techniques for Better Phone Portraits
Camera settings and lighting set the foundation, but composition is what separates a snapshot from an intentional portrait. These techniques apply whether you’re shooting a formal headshot or a candid moment at a birthday party.
Using the Rule of Thirds and Leading Lines
Place your subject’s eyes along the upper horizontal grid line rather than dead center in the frame. This single adjustment instantly makes phone portraits look more considered and less like a passport photo.
Look for leading lines in your environment, a fence, a staircase, a row of trees, that naturally draw the viewer’s eye toward your subject’s face.
Getting Closer and Changing Your Angle
Digital zoom on a phone crops into the sensor and degrades image quality noticeably past 2x on most devices. Instead of zooming, physically walk closer to your subject or ask them to move toward you.
Also experiment with shooting from slightly below eye level for a more empowering angle, or slightly above for a softer, more approachable look. Use the volume-up button as a physical shutter release, it’s more stable than tapping the on-screen button, which can introduce slight camera shake.
Choosing Clean, Uncluttered Backgrounds
Busy backgrounds compete with your subject for attention and confuse Portrait Mode’s edge detection. Look for solid walls, open fields, or softly blurred foliage instead of cluttered street scenes with signs, cars, or overlapping people.
If you can’t change locations, changing your angle by even a few feet can eliminate a distracting element from the frame entirely.
Directing Your Subject for Natural-Looking Poses
Even flawless lighting and composition fall flat if your subject looks stiff or uncomfortable. Most people don’t know what to do with their hands or face in front of a camera, so it’s your job to guide them.
Simple Posing Prompts That Work
Rather than saying “smile” (which usually produces a forced grin), try specific, action-based prompts. Photographers commonly use lines like:
- “Shift your weight onto one leg and relax your shoulders.”
- “Look just past the camera, over my right shoulder.”
- “Take a slow breath in, then let it out and relax your face.”
- “Laugh like I just told you a bad joke.”
These prompts give people something concrete to do with their body instead of freezing up, and they consistently produce more natural results in phone portrait photography than generic instructions.
Capturing Candid Moments Between Poses
Some of the best shots happen in the seconds right after a pose, when your subject relaxes, laughs, or looks away. Keep shooting during these transition moments instead of stopping the second you get “the shot.”
Burst mode (hold the shutter button on iPhone, or use the burst icon on most Android cameras) is useful here since it captures multiple frames per second, letting you pick the most genuine expression afterward.
Essential Accessories That Improve Phone Portrait Photography
You don’t need a bag full of gear to take great portraits with your phone, but a few affordable accessories can meaningfully expand what’s possible.
Clip-On Lenses and Their Limits
The Moment 58mm Tele lens (around $130) attaches via a case mount and provides a modest telephoto effect, useful for flattering facial compression in portraits. Keep in mind clip-on lenses add optical glass in front of your phone’s already-small sensor, so image quality gains are real but modest compared to a dedicated camera lens.
Portable LED Panels and Reflectors
A Neewer 5-in-1 reflector (roughly $15 to $20) bounces available light back onto your subject’s face, filling in shadows without needing extra power. For low-light or indoor shoots, a small LED panel like the Neewer 660 RGB (around $50 to $70) gives you adjustable color temperature and brightness.
Phone Gimbals and Tripods for Stability
A Joby GorillaPod (around $25 to $45 depending on the model) wraps around railings or props against uneven surfaces, letting you set up a stable shot without a assistant holding the phone steady. For handheld stabilization during movement, a gimbal like the DJI Osmo Mobile 6 (around $99) smooths out shake for video-based portrait work.
| Accessory | Approximate Price | Best For |
|---|---|---|
| Moment 58mm Tele Lens | $130 | Flattering compression, tighter headshots |
| Neewer 5-in-1 Reflector | $15–$20 | Filling shadows outdoors |
| Joby GorillaPod | $25–$45 | Stable shots on uneven ground |
| DJI Osmo Mobile 6 | $99 | Handheld video and moving shots |
Editing Tips to Polish Your Phone Portraits
Editing is where good phone portrait photography becomes great, but restraint matters. Over-processed skin and blown-out highlights are one of the fastest ways to make a portrait look amateurish.
Adjusting Exposure, Contrast, and Skin Tones
Start with exposure first, brightening shadows and pulling back any blown highlights before touching color. Next, adjust white balance so skin tones look natural rather than orange or blue-tinted.
Finally, add a small amount of selective sharpening on the eyes only, most editing apps let you brush this in locally rather than sharpening the whole image, which keeps skin looking smooth while eyes stay crisp and detailed.
Free and Paid Editing Apps Worth Using
Snapseed (free, iOS and Android) offers a full suite of tools including selective adjustments and a healing brush for blemishes. VSCO ($29.99 per year for the full library) is popular for its film-inspired color presets that work particularly well on portraits shot in natural light.
Adobe Lightroom Mobile (free with limited features, $9.99/month for Creative Cloud Photography) gives you the most granular control, especially if you shot in RAW. For more general phone shooting techniques that pair well with these editing habits, our iPhone photography tips guide covers additional ground.
Common Mistakes to Avoid in Phone Portrait Photography
Even with the right settings and gear, a few recurring habits quietly undermine otherwise solid phone portrait photography.
Overusing Digital Zoom
As mentioned earlier, digital zoom crops and upscales the image, introducing softness and noise. If you find yourself constantly zooming in during a shoot, that’s a sign you need to physically move closer instead.
Relying Too Much on Beauty Filters
Heavy skin-smoothing filters can erase texture entirely, making faces look plastic and unnatural under close inspection. A light touch, or no filter at all combined with proper lighting, almost always produces a more convincing and professional result in phone portrait photography.
Ignoring Background Distractions
A trash can, a bright sign, or a stranger walking through the frame can pull attention away from your subject entirely. Get in the habit of scanning the full frame, corners included, before every shot rather than focusing only on the subject’s face.
For a broader technical foundation covering everything from settings to composition, the smartphone photography beginner’s guide is a useful companion to these portrait-specific tips.
Putting It All Together
Strong phone portrait photography comes down to a handful of repeatable habits: finding soft directional light, locking focus on the eyes, choosing a clean background, giving your subject something real to do instead of just “smile,” and editing with a light hand. None of these require expensive gear, just attention and practice.
Your next step is simple. Pick one section from this article, whether it’s golden hour lighting, posing prompts, or a basic Snapseed edit, and apply it deliberately on your next ten shots. Small, consistent improvements compound faster than chasing every new accessory or app. For more information on how camera sensors and depth of field work, the Wikipedia entry on depth of field is a solid technical reference worth bookmarking.
Frequently Asked Questions
Can you really get professional-looking portraits with just a phone?
Yes, especially with modern phones like the iPhone 15 Pro or Samsung Galaxy S24 Ultra, which have advanced computational photography. The key is mastering light, composition, and posing rather than relying on the hardware alone.
What is the best phone camera setting for portraits?
Portrait Mode is a great starting point because it simulates a shallow depth of field, but shooting in the standard photo mode with manual focus often gives you more control and fewer edge-detection errors around hair or glasses.
Do I need a separate lens for phone portrait photography?
No, a separate lens isn't required, but clip-on telephoto lenses like the Moment 58mm can improve compression and background blur. Most beginners get excellent results using just their phone's built-in lenses and good light.
How do I avoid harsh shadows in phone portraits?
Shoot during golden hour or move your subject into open shade, like under a tree or a building overhang. Avoid direct overhead sunlight, which creates unflattering shadows under the eyes and nose.
Why do my phone portraits look flat or blurry?
Flat images usually come from poor lighting contrast, while blurriness often results from digital zoom or camera shake. Get closer instead of zooming, and use both hands or a small tripod to stabilize your shot.
What's the best free app for editing phone portraits?
Snapseed is one of the best free options, offering selective adjustments for exposure, tone, and sharpening on features like the eyes. VSCO is another popular free choice with strong preset filters for skin tones.

Mark Finley is a professional photographer, educator, and the founder of FormLovers. With years of experience behind the lens, Mark has transitioned from a passionate hobbyist to an industry professional, capturing stunning visuals and mastering the business of photography.