Travel photography mistakes are the reason so many vacation photo albums end up full of blurry landmarks, awkward strangers in the background, and shots that look nothing like what you actually saw with your own eyes. Every traveler has felt that gut-punch moment scrolling through their camera roll a week after getting home, wondering why the sunset in Santorini looks washed out or why every photo from the Tokyo trip looks like it was taken from the exact same spot. The good news is that almost every one of these problems has a simple, fixable cause.
In this guide, I’m breaking down ten of the most common travel photography mistakes I see from beginners and even some intermediate shooters, based on patterns that show up again and again on trips. You’ll get practical fixes for each one, real gear examples with actual prices, and small habit changes that make a noticeable difference by your next trip.
Whether you’re shooting with a $1,400 mirrorless camera or just your phone, the fixes here apply. Let’s get into what’s actually going wrong and how to turn it around.
Why Avoiding Travel Photography Mistakes Matters So Much
Most travel photos can’t be retaken. You’re not going back to Prague next weekend to get a better shot of the Charles Bridge at sunrise — you might not be back for years, if ever. That’s what makes travel photography mistakes so much more painful than errors in everyday shooting: the location, the light, the moment, and sometimes the people are gone the second you press the shutter and move on.
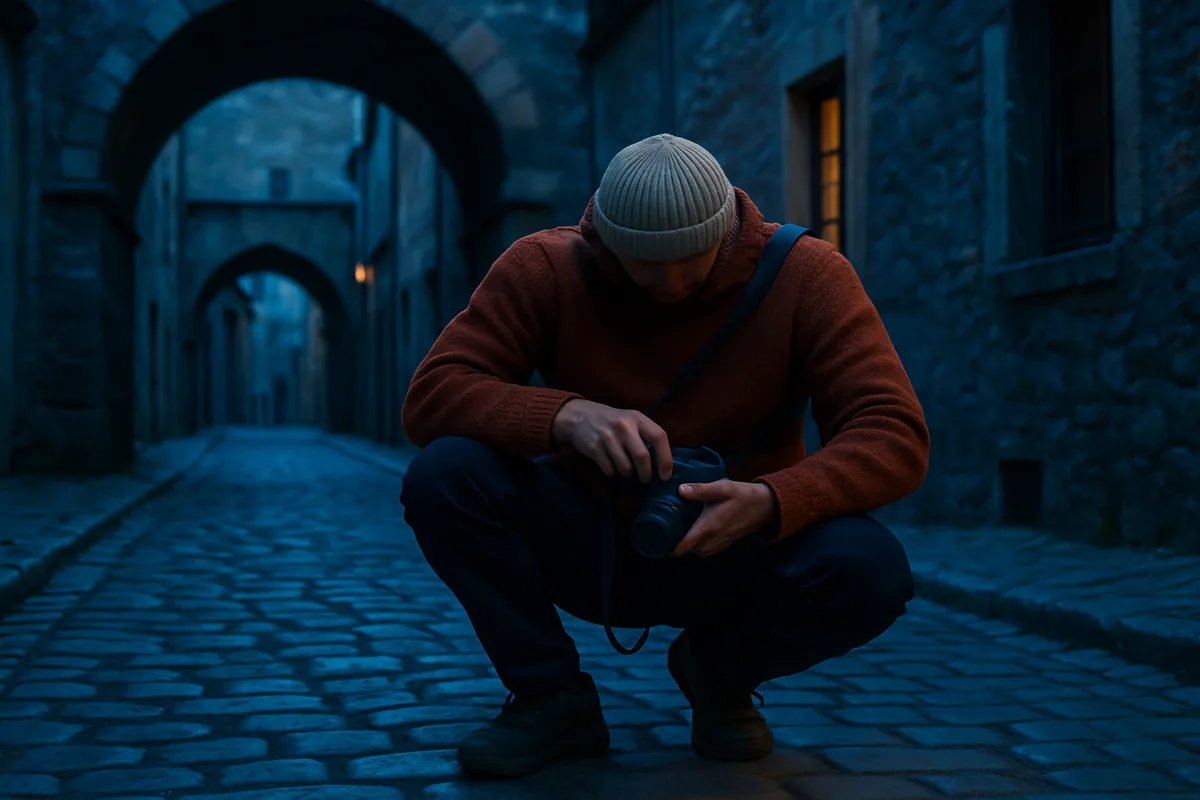
How These Errors Quietly Ruin Your Travel Memories
Professional photographers who shoot for outlets like National Geographic don’t just show up and hope for the best. They scout locations in advance, check sunrise and sunset times for the exact date, and build a shot list before they even land. That level of planning is exactly why their travel photography mistakes are rare — they’ve engineered the odds in their favor.
You don’t need a National Geographic budget to apply the same thinking. Most travel photography mistakes come down to a handful of repeatable habits: bad timing, rushed composition, and gear that gets in the way instead of helping. Fix those, and your photos improve dramatically without buying a single new lens.
Mistake #1: Shooting Everything at Eye Level
Standing up straight and snapping a photo at eye level is the default, and that’s exactly the problem. When every shot is taken from the same five-foot-something height, your entire trip ends up looking like it was photographed by one tired tripod. It’s one of the most common travel photography mistakes because it requires zero effort to fall into.
Picture a spice stall at a market in Marrakech. Shot from eye level, it’s just a table of colorful powders. Crouch down low so the camera is nearly at the same height as the spice piles, and suddenly you get depth, texture, and a foreground-to-background story that feels like you’re standing right in the stall.
Simple Ways to Change Your Perspective
- Crouch or kneel for street food stalls, market produce, and anything at ground level to add depth and intimacy.
- Find a rooftop bar or terrace in cities like Rome or Lisbon to shoot rooflines and streets from above.
- Shoot upward through archways or between buildings to frame the sky and add drama to architecture.
- Get low and shoot through foreground elements like flowers, railings, or café tables for natural framing.
This single habit change fixes one of the most overlooked travel photography mistakes without spending a dollar on new equipment. For more angle ideas specific to buildings and city scenes, check out our guide on city photography and how to capture buildings and streets.
Mistake #2: Ignoring Local Light and Shooting at the Wrong Time
Harsh midday sun is one of the most consistent travel photography mistakes because it’s usually when you actually have free time to explore. Between 11 a.m. and 3 p.m., the sun sits almost directly overhead, creating flat lighting, blown-out skies, and unflattering shadows under eyes and noses on any portraits you attempt.
Golden hour, roughly the hour after sunrise and the hour before sunset, gives you warm, low-angle light that makes almost everything look better, from a beach in Tulum to a plaza in Seville. Blue hour, the 20 to 30 minutes right after sunset or before sunrise, delivers that deep blue sky combined with warm artificial city lights that makes urban shots look cinematic.
Golden Hour and Blue Hour Timing You Can’t Skip
Apps like PhotoPill let you check exact sunrise, sunset, golden hour, and blue hour times for any city on any date, plus show you where the sun and moon will actually be positioned relative to landmarks. This kind of planning is what separates photographers who consistently sidestep travel photography mistakes from those relying on luck.
If you want a deeper breakdown of how to plan around light throughout an entire trip, our article on the best time of day for travel photography walks through it scene by scene. We also cover sunset-specific settings in our sunset travel photography camera settings guide.
Mistake #3: Overpacking Gear and Missing the Moment
Bringing five lenses, two camera bodies, a full lighting kit, and a heavy tripod sounds like preparation, but it usually backfires. Overpacking is one of the sneakiest travel photography mistakes because it feels responsible in the moment, right up until you’re exhausted from carrying 20 pounds of gear and too tired to chase a good shot.
A single versatile zoom lens, like a 24-70mm or an 18-135mm, covers the vast majority of travel scenarios without forcing you to swap glass every five minutes. A body like the Sony a6700, priced around $1,398, paired with one solid zoom, handles everything from street scenes to distant architecture.
What to Actually Bring vs Leave Behind
| Bring | Leave Behind |
|---|---|
| One versatile zoom lens (24-70mm or similar) | Four or five prime lenses “just in case” |
| Lightweight tripod, like the Peak Design Travel Tripod ($599) | Full-size studio tripod |
| One extra battery and two SD cards | A separate laptop for editing on the road |
| Small microfiber cloth and lens pen | External flash unless shooting events at night |
The fewer decisions you have to make about gear, the more attention you have left for actually seeing the moment in front of you. This is one of the travel photography mistakes that beginners fix almost overnight once they force themselves to pack lighter. Our guide on what beginners really need for travel photography breaks down a realistic starter kit without the excess.
Mistake #4: Forgetting to Photograph People and Local Life
Landmarks are easy. Strangers are not. That’s why so many trips come back with a hundred photos of buildings and zero photos of the people who actually make a place feel alive, which is one of the more emotionally costly travel photography mistakes because portraits are what people remember years later.
A fruit vendor arranging mangoes in Oaxaca, a fisherman mending nets in a Greek harbor town, kids playing in a fountain in Barcelona — these human moments carry more story than another photo of a cathedral facade.
How to Approach Strangers Respectfully for Portraits
- Learn a basic greeting and “may I take your photo?” phrase in the local language before you go.
- Make eye contact, smile, and gesture toward your camera rather than just raising it silently.
- Offer to show them the photo on your screen, or share it via AirDrop or email if they’re interested.
- Accept a “no” gracefully and move on without pressing the issue.
Being too shy to approach people is one of the most common travel photography mistakes among beginners, but a little respectful confidence goes a long way. For a full breakdown on capturing genuine, unposed human moments, see our guide on candid travel photography and capturing authentic moments.
Mistake #5: Overusing Filters and Over-Editing Photos
Cranking saturation to the max and applying a heavy HDR effect might look punchy on a small phone screen, but it usually falls apart on a bigger display, where skies turn neon orange and skin tones look unnatural. This is one of the travel photography mistakes that’s easy to spot from a mile away on Instagram, and it dates a photo fast.
Natural, believable color almost always outperforms an overcooked look, especially for landscapes and travel portraits where the goal is to remind you of how the place actually felt.
A Simple, Natural Editing Workflow in Lightroom
- Adjust exposure first so your midtones look accurate, not blown out or muddy.
- Set white balance to match the actual light — warmer for golden hour, cooler for shade or blue hour.
- Add a small amount of contrast and clarity, checking that skin tones and skies still look believable.
- Apply subtle vignetting only if it draws the eye toward the subject, not as a default habit.
Lightroom Mobile has a free version, plus the Adobe Photography Plan at roughly $9.99 a month, which unlocks full editing tools and cloud storage. Avoiding heavy-handed filters is one of the easier travel photography mistakes to correct once you slow down and edit with intention instead of habit.
Mistake #6: Not Backing Up Photos While Traveling
Losing a camera, having a phone stolen, or corrupting an SD card mid-trip turns a great vacation into a disaster in about ten seconds. Skipping backups is one of the most costly travel photography mistakes because there’s no undo button once the files are gone.
A portable SSD like the SanDisk 1TB, priced around $80, lets you dump your memory cards onto a second physical drive every night without needing a laptop for most models that support direct card-to-drive transfers.
Affordable Backup Systems for Trips
- Cloud backup through Google Photos or Adobe Lightroom Cloud storage whenever you have Wi-Fi.
- A dedicated portable SSD, like the SanDisk 1TB (~$80), for a physical backup separate from your camera.
- Cameras with dual SD card slots, such as the Canon EOS R6 Mark II, so files are written to two cards simultaneously.
- Keep your backup drive in a different bag than your camera in case one bag gets lost or stolen.
Building a nightly backup habit into your trip routine eliminates one of the highest-stakes travel photography mistakes with almost no extra effort.
Mistake #7: Neglecting Composition Basics Like Framing and Leading Lines
Centering every subject dead in the middle of the frame with nothing else going on is one of the most fixable travel photography mistakes out there. Basic composition tools like the rule of thirds, leading lines, and natural framing instantly add depth and interest without changing your gear at all.
Quick Composition Rules That Instantly Improve Travel Photography Mistakes
- Rule of thirds: place your subject along the gridlines instead of dead center for a more balanced frame.
- Leading lines: use roads, rivers, fences, or staircases to pull the viewer’s eye toward your subject.
- Natural framing: shoot through archways, windows, or tree branches to add layers and context.
A classic real-world example: shooting the Eiffel Tower straight-on from the Champ de Mars gets you the same photo as everyone else. Shoot it through the arches at Trocadéro instead, and the arch itself becomes a frame that adds depth most tourists never bother to capture.
These composition basics are covered more thoroughly in our guide to travel landscape photography and better outdoor photos, which applies just as well to city scenes as it does to nature.
Mistake #8: Rushing Iconic Landmarks Instead of Exploring Nearby
Everyone has the same shot of Machu Picchu from the classic overlook, and everyone has the same angle on the Colosseum from the main road. Settling for the obvious shot is one of the travel photography mistakes that leaves your photos looking identical to a million stock images already online.
Finding Unique Angles Away from the Crowds
Arriving 30 to 45 minutes before official opening hours often means fewer people and softer light, especially at heavily visited sites. Walking a few extra blocks past the main viewpoint, or checking Google Maps and Instagram geotags for alternative angles other visitors have found, usually reveals a far more interesting composition.
At the Colosseum, for example, walking up toward the Palatine Hill entrance gives you an elevated angle most tourists skip because they stay at street level near the main entrance. That extra ten-minute walk is often the difference between a generic photo and one that actually looks like yours.
Mistake #9: Forgetting to Check Camera Settings Between Scenes
You switch from a dim restaurant interior to bright outdoor sunlight, raise your camera, and fire off a shot — only to find it’s completely blown out because your ISO was still set to 3200 from the night before. This is one of the most common travel photography mistakes, and it happens to experienced shooters too, not just beginners.
A Quick Settings Checklist Before Every Shot
- Check ISO — bring it down for bright outdoor scenes, up for dim interiors or evening shots.
- Check white balance — auto works for most situations, but manual settings matter for mixed lighting.
- Check exposure compensation — reset it to zero if you dialed it up or down for a previous scene.
- Glance at your shutter speed if you’re shooting anything moving, like street traffic or waterfalls.
Building this three-second habit before raising the camera prevents one of the most frustrating travel photography mistakes: getting home and realizing an entire batch of otherwise great shots is unusable. If you’re shooting moving water on your trip, our waterfall photography tips for capturing moving water guide covers the shutter speed adjustments in more detail.
Turning These Fixes Into Better Photos on Your Next Trip
None of these travel photography mistakes require buying new gear or years of practice to fix. Changing your shooting angle, checking the light before you head out, packing lighter, and running a quick settings check before each shot are habits you can start applying on your very next outing, even a walk around your own neighborhood.
Pick two or three of these fixes to focus on for your next trip instead of trying to overhaul everything at once. Once those become automatic, move on to the next couple, and you’ll notice your travel photos looking sharper, more intentional, and a lot more like what you actually experienced.
For general planning and packing guidance ahead of your next trip, the National Park Service website is a solid resource if your travels include U.S. national parks, and our own travel photography tips for your next trip guide rounds out the fundamentals covered here.
Frequently Asked Questions
What is the biggest travel photography mistake beginners make?
The most common travel photography mistake is shooting everything at eye level from the same standing position. Changing your angle, crouching lower, or finding higher ground instantly makes photos feel more dynamic and less repetitive.
How can I avoid blurry photos while traveling?
Blurry photos usually happen from a shutter speed that's too slow for handheld shots, especially in low light. Keep your shutter speed at least 1/125s for still subjects, use image stabilization if your camera or lens has it, and brace your arms against your body or a wall for extra support.
Is it better to shoot in RAW or JPEG while traveling?
RAW is better if you plan to edit your photos afterward, since it captures more detail in highlights and shadows and gives you far more flexibility to fix white balance or exposure. JPEG is fine for quick sharing but leaves much less room to correct mistakes later.
How much camera gear should I actually bring on a trip?
Most travel photographers do best with one camera body, one versatile zoom lens (like a 24-70mm), extra batteries, and a lightweight tripod. Bringing too much gear leads to fatigue and missed candid moments, which is one of the most overlooked travel photography mistakes.
What's the best time of day for travel photography?
Golden hour, roughly the first hour after sunrise and the last hour before sunset, gives soft, warm light that flatters almost any scene. Midday sun between 11 a.m. and 3 p.m. tends to create harsh shadows and blown-out highlights, so it's worth planning outdoor shoots around it.
How do I back up my travel photos safely on the road?
Use a combination of a portable SSD, like a SanDisk 1TB drive for around $80, and a cloud service such as Google Photos or Adobe Lightroom's cloud storage. Backing up every night, rather than waiting until the end of the trip, protects you from losing images to a lost or damaged memory card.

Mark Finley is a professional photographer, educator, and the founder of FormLovers. With years of experience behind the lens, Mark has transitioned from a passionate hobbyist to an industry professional, capturing stunning visuals and mastering the business of photography.