City photography rewards photographers who can read a scene fast—light shifts every few minutes, crowds never stand still, and the same block can look completely different depending on where you point your lens. In this guide, you’ll learn the gear, composition tricks, and camera settings that separate flat tourist snapshots from images that actually capture the energy of a place. Whether you’re shooting skyscrapers in Chicago or a quiet alley in Savannah, the fundamentals below apply anywhere with concrete, glass, and people.
We’ll cover how city photography differs from landscape or portrait work, what gear actually earns its keep on a shoot, and how to compose shots that use lines, reflections, and layers to your advantage. You’ll also get real settings for architecture, street scenes, and nighttime shoots, plus a few editing moves that make urban color and skies pop without looking fake.
What Makes City Photography Different From Other Genres
City photography sits at the intersection of architecture, street, and documentary work. You’re not just photographing a building or a person—you’re photographing a relationship between the two, often while dodging foot traffic and changing light. That combination makes it one of the more technically demanding genres to shoot well.
The unique challenges of shooting in urban environments
Unlike a landscape shoot where the scene holds relatively still, city photography throws constant variables at you. A cloud passes and a facade goes from lit to flat in seconds. A bus pulls into your frame right as you press the shutter.
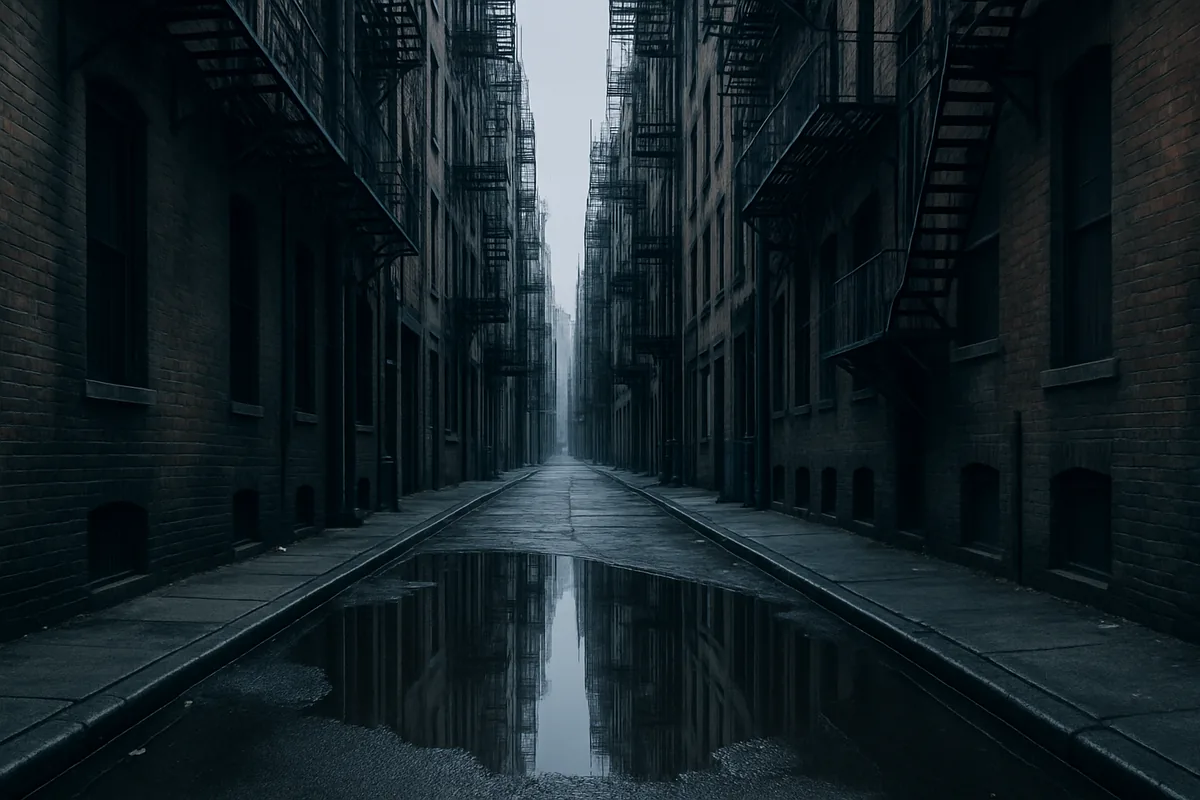
- Light bounces unpredictably off glass towers, creating harsh reflections one moment and soft fill light the next
- Crowds move fast, so you often get one chance at a composition before the moment is gone
- Private property lines matter—plazas, lobbies, and shopping centers can restrict photography even though they look public
- Traffic, construction, and street furniture constantly compete for space in your frame
None of this means city photography is harder to enjoy—it just means you need to move faster and think ahead more than you would shooting a quiet trailhead.
Why light, lines, and layers matter more here
Buildings are essentially giant geometric shapes, which means straight lines, right angles, and repeating patterns show up everywhere. Good city photography leans into that structure instead of fighting it. Streets, railings, and rooflines become leading lines almost automatically once you start looking for them.
Layering matters just as much. A strong urban shot usually has something interesting in the foreground, a subject in the midground, and context in the background—like a pedestrian crossing in front of a mural with a skyline behind it. That depth is what separates a snapshot from a photograph that feels like it belongs in a gallery.
Essential Gear for City Photography
You don’t need a bag full of equipment to shoot city photography well, but a couple of smart choices make a real difference in both image quality and how comfortable you are carrying gear for a full day of walking.
Best camera bodies and lenses for buildings and streets
A versatile zoom is the workhorse lens for most city photography sessions. The Canon RF 24-70mm f/2.8 ($2,299) covers everything from wide architectural shots to tighter street portraits without a lens change, which matters when you’re moving through crowded blocks. If you shoot tight streets or interiors where you can’t back up far enough, a wider option like the Sony 16-35mm f/2.8 GM ($2,198) gives you the extra field of view to fit an entire building facade in frame.
For photographers who want something smaller and less conspicuous, a fixed-lens compact like the Fujifilm X100VI ($1,599) is a favorite for street work. It’s quiet, light, and doesn’t scream “professional photographer” the way a full-frame body with a long zoom does—useful when you’re trying to capture candid moments without drawing attention.
Do you need a tripod in the city?
For daytime shooting, a tripod usually just slows you down. But once the sun sets, it becomes essential for long-exposure shots of light trails or blue-hour architecture. A compact option like the Peak Design Travel Tripod ($599) folds down small enough to carry all day without adding real weight to your bag, which is the whole point in a walking-heavy genre like city photography.
| Gear | Best For | Approx. Price |
|---|---|---|
| Canon RF 24-70mm f/2.8 | All-purpose city photography walks | $2,299 |
| Sony 16-35mm f/2.8 GM | Tight streets and full building facades | $2,198 |
| Fujifilm X100VI | Discreet street photography | $1,599 |
| Peak Design Travel Tripod | Night and long-exposure shots | $599 |
Composition Techniques for Urban Photography
Composition is where city photography really comes alive. Buildings and streets give you built-in structure that other genres don’t offer, so it’s worth training your eye to see it on purpose.
Using leading lines and symmetry in city photography
Streets, crosswalks, and railings naturally pull the eye toward a vanishing point, which is one of the easiest ways to add depth to a flat urban scene. Symmetry works the same way in architecture-heavy locations—standing dead-center in a plaza like the one outside Chicago’s Willis Tower and shooting straight down the middle can turn an ordinary building into a striking, almost graphic image.
Framing with doorways, windows, and reflections
Doorways and window openings make natural frames-within-a-frame, drawing attention to whatever’s happening on the other side. Glass-heavy buildings also give you free reflections—shoot a skyline bouncing off a curved facade and you get two images for the price of one. This trick works especially well in financial districts with lots of mirrored towers, like Lower Manhattan or downtown Dallas.
Working with layers and depth in busy streets
Busy streets can feel chaotic through a viewfinder, but layering turns that chaos into structure. Put a person or object close to the lens in the foreground, let the main action happen in the midground, and use the background—storefronts, signage, or a skyline—to add context. If you’re new to reading light and depth in outdoor scenes generally, our guide on travel landscape photography tips covers similar layering principles you can apply directly to city photography.
How to Photograph Buildings and Architecture
Architecture is one of the most common subjects in city photography, and it comes with one persistent technical problem: converging verticals, where tall buildings appear to lean backward when you tilt the camera up.
Correcting perspective distortion
You can fix leaning buildings in post with Lightroom’s Transform panel, which straightens verticals with a single slider adjustment. For photographers who want to solve the problem in-camera, a tilt-shift lens like the Canon TS-E 24mm ($2,199) physically shifts the lens element to keep vertical lines parallel without any cropping or software correction.
Shooting straight-on vs. dynamic angles
A straight-on shot, camera level and centered, gives buildings a clean, documentary feel and works well for symmetrical facades. Shooting from a low angle or off to one side adds drama and makes a building feel taller and more imposing. Both approaches belong in city photography—it just depends on whether you want the shot to feel calm or aggressive.
Best times of day for architectural shots
Blue hour—roughly 20 to 30 minutes after sunset—is the sweet spot for architectural city photography. Building lights turn on while there’s still enough color in the sky to avoid a pure black backdrop, giving you balanced exposure between the structure and its surroundings. For a deeper breakdown of how light changes throughout the day, check our article on the best time of day for travel photography.
Capturing Streets and Everyday City Life
Street photography is the human half of city photography, and it comes with its own set of unwritten rules.
Street photography etiquette and legal tips
Photographing people and buildings from public property is generally legal in the United States, though the rules shift once you step onto private property like a mall or a stadium. A friendly nod or a quick smile after taking a candid shot goes a long way toward keeping interactions positive. If someone asks you not to use their photo, respect it—there’s always another moment down the block.
Freezing motion vs. capturing movement blur
Your shutter speed decides whether a busy street feels frozen in time or alive with motion. A fast shutter around 1/500s freezes pedestrians mid-stride, which is great for sharp candid portraits in a crowd. Slow it down to around 1/15s on a tripod, and moving traffic turns into streaking light trails instead—a completely different mood from the same intersection.
- 1/500s or faster: freezes walking pedestrians and cyclists
- 1/60s to 1/125s: slight blur on moving subjects, sharp static background
- 1/15s or slower (tripod required): smooth traffic light trails and flowing crowds
Mastering Light in City Photography
Light is the single biggest variable in city photography, and it changes faster downtown than almost anywhere else because buildings block and bounce it constantly.
Shooting during golden hour and blue hour downtown
Golden hour gives building facades a warm glow and long, dramatic shadows across streets. Once the sun drops further, blue hour takes over—this is when ISO 100 to 400 usually gives you clean, noise-free exposures while streetlights and building interiors start to glow against a still-blue sky.
Working with harsh midday light between buildings
Midday sun between tall buildings creates deep shadows and blown-out highlights, which sounds like a problem but can actually work in your favor. Use those hard shadows as graphic shapes in your composition, or wait for a subject to walk through a narrow shaft of light for a spotlight effect you couldn’t recreate any other time of day.
Night city photography settings
Night shooting is where a tripod earns its place in your bag. A reliable starting point is ISO 800, f/8, and a 20-second exposure, which is long enough to turn moving car headlights into continuous light trails while keeping the rest of the frame sharp. Adjust ISO up if the scene is darker, or extend your shutter speed further for longer, more dramatic streaks.
If you’re shooting with a phone instead of a dedicated camera, our guide on night photography with a phone walks through settings that get surprisingly close to these results.
Editing Tips to Enhance City Photography
Editing is where a good city photography shot becomes a great one, especially when it comes to color and cleaning up distractions.
Color grading for urban tones
Teal-and-orange grading is popular in city photography because it separates cool shadows from warm highlights, which mimics the natural contrast between artificial lighting and blue evening sky. You don’t need a heavy preset to get there—nudging the shadows toward blue and the highlights toward orange in Lightroom’s Color Grading panel usually does the job.
Removing distractions and cleaning up skies
Power lines, stray trash, and random pedestrians in the wrong spot are common in busy urban scenes, and the Clone and Heal tools in Lightroom or Photoshop handle most of them in seconds. Hazy or smog-heavy skylines, common in cities like Los Angeles, also benefit from a dehaze adjustment to bring back contrast and color in the distant buildings without over-processing the rest of the frame.
For more general composition and light fundamentals that apply well beyond cities, our travel photography tips for your next trip guide is worth a read alongside this one.
Your Next Shoot Starts on Your Own Block
City photography doesn’t require a plane ticket to a famous skyline—the block you walk every day already has leading lines, interesting light, and candid moments waiting to be noticed. Start with one technique from this guide, whether it’s shooting straight-on symmetry at a nearby plaza or catching blue hour outside a building you pass on your commute. Grab your camera, pick a fifteen-minute window before sunset, and go make one frame you’d be proud to print.
For background on how the genre developed and where its documentary roots come from, the Wikipedia entry on street photography is a solid starting point.
Frequently Asked Questions
What is the best time of day for city photography?
Blue hour, roughly 20 to 30 minutes after sunset, is ideal because building lights and the sky balance perfectly in exposure. Golden hour also works well for warm light on building facades, while midday is better reserved for shadow-based creative shots.
What lens is best for city photography?
A versatile zoom like a 24-70mm f/2.8 covers most street and architecture needs, while a wide-angle lens such as a 16-35mm helps fit tall buildings into frame in tight spaces. Many street photographers also prefer fast primes like a 35mm f/1.4 for low-light candid shots.
Is it legal to photograph people on the street in the US?
In the United States, photographing people in public spaces is generally legal since there's no reasonable expectation of privacy in public. However, using those photos commercially usually requires a model release, and it's courteous to be respectful when someone objects.
How do I stop buildings from looking distorted in photos?
Converging verticals happen when you tilt the camera up to fit a tall building in frame. You can fix this in Lightroom's Transform panel, or avoid it in-camera by shooting from farther back or using a tilt-shift lens.
Do I need a tripod for city photography?
You don't need one for daytime street shots, but a tripod becomes essential for night city photography, long exposures of light trails, or blue hour architecture shots where shutter speeds drop below 1/30s.
How can I take better street photos without feeling awkward?
Start by shooting from the hip in busy public areas to get comfortable, then work up to more direct candid shots. Using a smaller camera like a Fujifilm X100VI helps you stay discreet and blend into the scene.

Mark Finley is a professional photographer, educator, and the founder of FormLovers. With years of experience behind the lens, Mark has transitioned from a passionate hobbyist to an industry professional, capturing stunning visuals and mastering the business of photography.