Waterfall photography rewards patience more than any other outdoor genre, because you’re working against moving water, shifting light, and terrain that’s often slippery and unpredictable. Get the technique right, though, and you walk away with images that look like something out of a magazine spread — silky cascades, moody mist, and rock textures that pop. This guide walks through the gear, camera settings, composition tricks, and post-processing steps that separate a flat snapshot from a genuinely striking waterfall photo.
You’ll learn exactly which shutter speeds create that dreamy “silky water” look, how neutral density filters make long exposures possible in daylight, and which mistakes trip up most beginners the first time they try this. Real-world examples from spots like Multnomah Falls in Oregon and Yosemite Falls in California will show how the settings actually play out in the field.
If you’re new to shooting outdoors in general, it also helps to brush up on the fundamentals covered in our guide to travel landscape photography before diving into the more technical side of waterfalls.
What Makes Waterfall Photography So Challenging
At first glance, a waterfall seems like an easy subject — it’s not moving location, the scene is fixed, and you can take your time. But waterfall photography introduces a set of technical problems that static landscapes rarely throw at you, and ignoring them is what leads to flat, overexposed, or shaky results.
The two biggest hurdles are dynamic range and motion. Bright, churning water sits right next to dark wet rocks and shaded tree cover, and your camera has to somehow record detail in both. At the same time, the water itself never stops moving, which means your shutter speed choice becomes the single most important decision you’ll make on site.
Contrast Between Bright Water and Dark Rocks
Falling water reflects a huge amount of light, especially where it catches direct sun, while the surrounding rock faces and forest canopy stay several stops darker. Cameras struggle to hold detail across that range in a single exposure. Shoot in harsh midday light and you’ll often get a blown-out white streak where the water should have texture, with the rocks around it looking muddy and underexposed.
This is one of the main reasons overcast days tend to produce better waterfall photography results than clear, sunny ones — more on that later in this guide.
Constant Motion and Changing Light
Unlike a mountain range or a building facade, water never holds still, so every shutter speed choice changes the final look completely. A quarter-second exposure freezes some texture in the flow, while a four-second exposure turns the same waterfall into a smooth veil. Neither is “correct” — they’re just different creative choices, and part of learning waterfall photography is figuring out which effect fits the scene.
Light also shifts fast in canyons and forested gorges, where waterfalls are commonly found. Clouds passing overhead, tree cover changing with the wind, and spray drifting across your lens all mean conditions can change from one minute to the next, so you have to stay ready to adjust.
Essential Gear for Waterfall Photography
You don’t need a truckload of equipment to get great waterfall photography results, but a few specific items make the difference between a shot that works and one that doesn’t. The core list is short: a camera that allows manual control, a sturdy tripod, a neutral density filter, and ideally a polarizer.
Camera and Lens Choices
Any camera with a manual or shutter-priority mode will work for waterfall photography, including most mirrorless bodies, DSLRs, and even some advanced compact cameras. A wide-angle zoom in the 16-35mm range (full-frame equivalent) is the most versatile choice, since it lets you capture the full drop along with surrounding rock and foliage. A mid-range zoom like a 24-70mm is useful for tighter compositions on smaller falls or for isolating a section of a larger one.
If you shoot with a smartphone instead, you can still apply most of these principles — just check our smartphone camera settings guide to see how far you can push manual controls on your phone.
Neutral Density Filters and Polarizers
A neutral density (ND) filter is the single most important accessory for waterfall photography, because it blocks light entering the lens without changing color, allowing you to use slow shutter speeds even in bright daylight. A 3-stop ND like the B+W 3-stop filter (roughly $60-90 depending on filter size) is enough for most overcast or shaded scenes. For midday shooting, a stronger filter such as the Breakthrough Photography X4 6-stop ND (around $100-150) gives you more room to slow things down without overexposing.
A circular polarizer, such as the Hoya HD Pro CPL (about $70 for common sizes), does something an ND filter can’t: it cuts glare off wet rocks and leaves, and it can deepen the blue of the sky and saturate greens naturally. Many photographers stack a polarizer with an ND filter for waterfall photography, since the combination controls both light intensity and reflections at the same time.
Tripods and Remote Shutter Releases
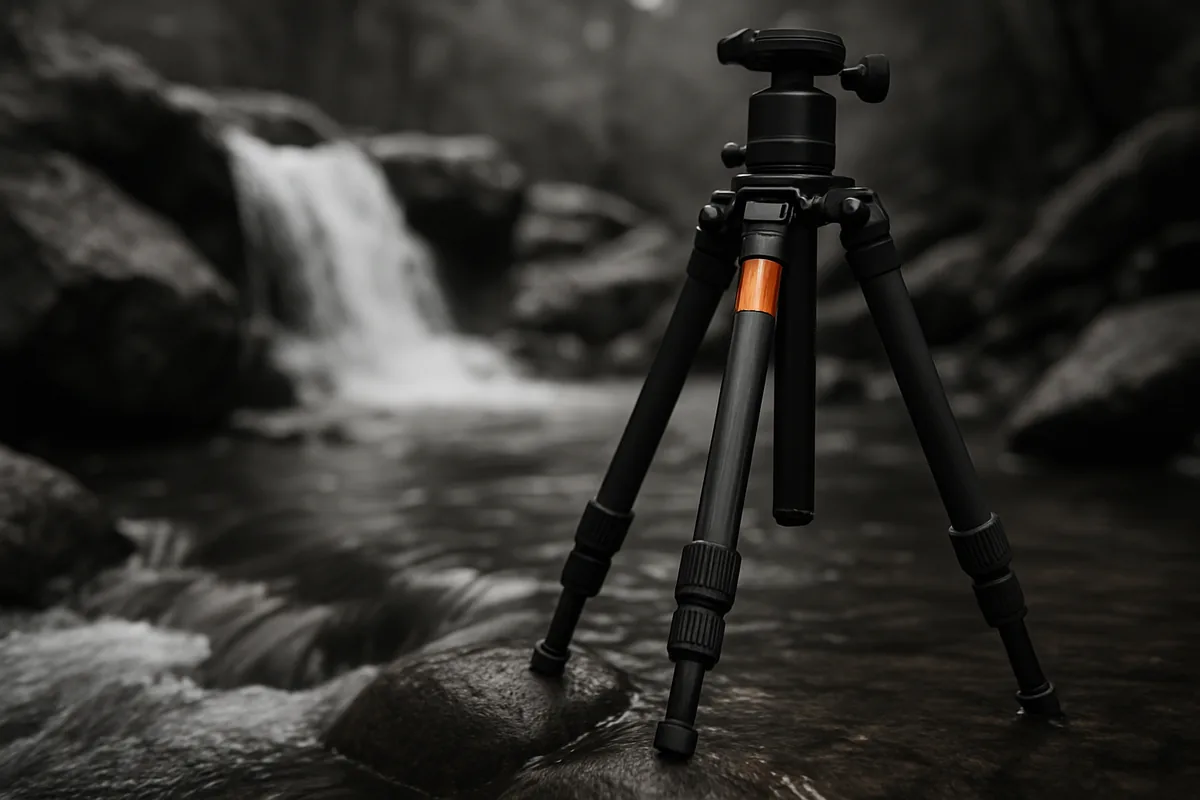
Because you’re working with exposures that often run several seconds long, a stable tripod isn’t optional — it’s the backbone of the whole technique. A solid, mid-range option like the Manfrotto Befree Advanced (around $150-200) offers enough rigidity for most conditions, including light spray near the base of a falls. Avoid ultra-light travel tripods in this situation, since even a slight breeze or vibration from nearby rushing water can introduce blur that ruins an otherwise perfect long exposure.
A remote shutter release or your camera’s built-in 2-second timer eliminates the small shake caused by pressing the shutter button by hand. This detail alone can be the difference between a tack-sharp long exposure and a slightly soft one.
| Gear Item | Approximate Price | Why It Matters |
|---|---|---|
| B+W 3-stop ND filter | $60-90 | Allows slower shutter speeds in shaded or overcast conditions |
| Breakthrough Photography X4 6-stop ND | $100-150 | Enables long exposures even in bright midday sun |
| Hoya HD Pro CPL polarizer | ~$70 | Cuts glare on wet rocks and boosts natural greens |
| Manfrotto Befree Advanced tripod | $150-200 | Provides stability for multi-second exposures near spray |
Best Camera Settings for Waterfall Photography
Once your gear is in place, dialing in the right camera settings for waterfall photography comes down to three variables working together: shutter speed, aperture, and ISO. Get familiar with how each one behaves in this specific context, because waterfalls demand a different balance than most other landscape subjects.
Choosing the Right Shutter Speed for Silky Water
Shutter speed for waterfalls is really a creative decision as much as a technical one. Here’s a rough breakdown of what each range produces:
- 1/4 second to 1/2 second: keeps some texture and movement visible in the water, good for fast, powerful falls where you want energy in the shot.
- 1 to 4 seconds: the classic silky water effect most people associate with professional waterfall photography — smooth streaks with soft edges.
- 10 seconds or longer: produces a misty, almost fog-like appearance, best suited to smaller or gentler falls where the water volume isn’t overwhelming.
At a location like Multnomah Falls in Oregon, a 2-second exposure at f/11 with a 6-stop ND filter typically produces a smooth, well-defined silky effect without losing all texture in the water.
Aperture and ISO for Sharp, Balanced Exposures
For most waterfall photography, an aperture between f/8 and f/16 gives you the depth of field needed to keep both foreground rocks and the falls itself in sharp focus. Going narrower than f/16 on many lenses starts introducing diffraction softness, so it’s rarely worth pushing further just to gain a slightly longer exposure — use a stronger ND filter instead.
Keep ISO at its base setting, usually ISO 100, to maximize dynamic range and minimize noise. Since you’re already on a tripod, there’s no benefit to raising ISO — any additional exposure time you need should come from your shutter speed or filter strength, not sensor sensitivity.
Using Aperture Priority vs Manual Mode
Aperture priority mode works fine for waterfall photography in stable light, since you set your aperture and ISO, and the camera calculates shutter speed automatically. But once you add a strong ND filter, many cameras struggle to meter accurately through the darkened viewfinder or live view, so switching to full manual mode gives you more predictable, repeatable results.
A practical workflow: compose and focus before attaching the ND filter, calculate your exposure using a stop-conversion chart or your camera’s built-in long-exposure calculator, then switch to manual mode, attach the filter, and fire the shot using a remote release or timer.
Composition Techniques That Elevate Waterfall Photography
Technical settings get the water looking silky, but composition is what makes the image memorable. Waterfall photography benefits enormously from the same principles used in general landscape work, adapted to the specific shape and scale of falling water.
Using Leading Lines and Foreground Rocks
Placing a rock, log, or stream bend in the foreground gives viewers a visual path into the frame and adds a sense of scale next to the falls. Position these elements using the rule of thirds rather than dead center, and get low to the ground when possible — a few inches of camera height can completely change how a foreground rock interacts with the water behind it.
Framing with Trees and Natural Elements
Overhanging branches, canyon walls, or moss-covered logs on either side of the frame act as natural borders that draw the eye toward the falls instead of letting it wander off the edges. This works especially well in forested settings like the Columbia River Gorge, where dense greenery naturally surrounds most of the falls.
Vertical vs Horizontal Orientation
Tall, narrow falls like Yosemite Falls in California almost always look better in a vertical frame, since a horizontal crop wastes space on either side and shrinks the subject. Wide falls like Niagara, by contrast, call for a horizontal orientation that captures the full breadth of the water. When in doubt, shoot both orientations on site — you can always decide later which one tells the story better.
The Best Time and Weather for Waterfall Photography
Timing affects waterfall photography just as much as camera settings do, sometimes more. The same waterfall can look completely different depending on the sky above it and the hour of day.
Why Overcast Days Beat Sunny Ones
Direct sun creates harsh highlights on the water surface and hot reflections on wet rocks, which are hard to control even with a polarizer. Overcast skies act like a giant softbox, spreading light evenly across the whole scene and letting your camera capture detail in both the water and the surrounding rock without blown highlights. This is why many professional landscape photographers deliberately plan waterfall photography sessions around cloudy forecasts rather than clear ones.
Shooting During Golden Hour and Blue Hour
If direct light does hit part of the scene, golden hour — the hour or so after sunrise and before sunset — adds warm tones to surrounding foliage and rock without the harsh contrast of midday sun. Blue hour, the period just before sunrise or after sunset, produces a cool, moody palette that works beautifully for longer exposures since ambient light is already low. Check a weather app before heading out, and if possible, visit a day or two after rainfall, when water flow is noticeably higher and more dramatic.
For more on how light changes throughout the day across different types of scenes, see our guide on the best time of day for travel photography.
Common Mistakes in Waterfall Photography and How to Fix Them
Even photographers with solid landscape experience make specific errors the first few times they try waterfall photography. Most of these are easy fixes once you know what to look for.
Overexposed Water and Blown Highlights
Shooting without an ND filter in bright conditions often results in pure white, texture-less water with no detail at all. The fix is straightforward: add a 3 to 6-stop ND filter, or shoot during softer light conditions, and check your histogram on site rather than relying on the camera’s LCD preview, which can be misleading in bright outdoor light.
Camera Shake from Weak Tripods
Lightweight travel tripods can vibrate slightly from wind or nearby rushing water, introducing subtle blur that only becomes obvious once you zoom into the image later. Use a sturdier tripod near waterfalls specifically, hang a weight from the center column hook if your tripod has one, and avoid extending the legs to their tallest, thinnest setting unless necessary.
Ignoring the Surroundings
A wide shot of just the falls, with no foreground rocks, trees, or sense of scale, often looks flat compared to images that include context. Mix in a few tight detail crops too — a close-up of water splashing over a specific rock, or droplets caught mid-air, adds variety and often becomes the standout image from a shoot. This is the same principle covered in our travel photography tips guide, where varying your shot types consistently produces stronger galleries.
Post-Processing Tips for Waterfall Photography
Editing plays a real role in waterfall photography, mostly to correct minor exposure issues and clean up water spray on the lens, not to fabricate a look that wasn’t there in camera.
Adjusting Contrast and Clarity in Lightroom
Start by pulling the Highlights slider down and the Whites slider slightly negative to recover any lost detail in the brightest parts of the water. A small boost to Clarity (around +10 to +20) can enhance texture in rocks and foliage without making the water look harsh or gritty — too much clarity applied to smooth water actually works against the silky effect you worked to create in camera.
Removing Spray Spots and Dust
Water spray drifting onto your lens or filter is one of the most common issues in waterfall photography, showing up as small soft blurs or dark specks in the final image. Use the Spot Removal tool in Lightroom or the Healing Brush in Photoshop to clean these up individually, zooming in to 100% to catch spots that aren’t visible at normal viewing size.
Enhancing Greens Without Oversaturating
Most waterfall scenes include heavy greenery, and it’s tempting to crank up saturation across the board. Instead, use the HSL/Color panel to target greens specifically, adjusting Luminance and Saturation independently rather than pushing the global Vibrance slider, which can make skin tones or rocks look artificially warm. The goal is greens that look rich and alive but still believable, not neon.
If you’re building a broader travel photography portfolio alongside your waterfall shots, our guide to travel photography for beginners covers gear and editing habits that apply across most outdoor genres.
Putting It All Together for Your Next Waterfall Shoot
Waterfall photography comes down to a handful of repeatable decisions: pick overcast light or golden hour when possible, mount your camera on a sturdy tripod, attach an ND filter strong enough for the shutter speed you want, and compose with foreground rocks or framing elements rather than shooting the falls in isolation. None of it requires expensive gear beyond a filter and a tripod, but it does require slowing down and testing a few exposures before settling on the final shot.
Next time you’re near moving water — whether it’s a roadside cascade or a major destination like Multnomah Falls — bring an ND filter and try at least three different shutter speeds on the same composition. Compare them side by side afterward, and you’ll quickly develop a feel for which look fits your style, which is really the fastest way to get better at this specific corner of landscape photography. For more background on the U.S. National Park Service’s guidance on photographing natural landmarks responsibly, visit nps.gov.
Frequently Asked Questions
What is the best shutter speed for waterfall photography?
Most photographers get a silky effect between 1/2 second and 4 seconds. Faster falls with heavy volume, like Multnomah Falls, often look best around 1 second, while smaller creek falls can handle 2-4 seconds for a dreamier effect.
Do I need a neutral density filter for waterfall photography?
Yes, especially in daylight. An ND filter like the Breakthrough Photography X4 3-stop lets you use slower shutter speeds without overexposing the shot, which is essential for that classic smooth-water look in bright conditions.
Can I shoot good waterfall photography with a smartphone?
Modern smartphones with a 'Long Exposure' or 'Night Mode' feature, like the iPhone 15 Pro or Google Pixel 8, can produce decent motion blur on water. Results are more limited than a DSLR or mirrorless setup, but a tripod and low-light mode go a long way.
What ISO should I use for waterfall photography?
Keep ISO at 100 whenever possible. This minimizes noise and allows for longer shutter speeds since you're already using a small aperture and an ND filter to control exposure.
Why do my waterfall photos look blown out and white?
This usually happens when the shutter stays open too long without enough light control, or the camera's metering favors the darker rocks over the bright water. Use spot metering on the water itself and consider bracketing exposures to fix it.
What's the best time of day for waterfall photography?
Overcast mornings and late afternoons work best. Direct sunlight creates harsh highlights on wet rocks and makes long exposures difficult even with an ND filter, while soft, diffused light keeps detail in both the water and the shadows.

Mark Finley is a professional photographer, educator, and the founder of FormLovers. With years of experience behind the lens, Mark has transitioned from a passionate hobbyist to an industry professional, capturing stunning visuals and mastering the business of photography.