Candid travel photography is the art of capturing people and places exactly as they are, without asking anyone to smile, pose, or look at the lens. It’s the difference between a photo that documents a place and a photo that feels like a place. In this guide, you’ll learn the gear, camera settings, positioning tricks, and editing habits that let you shoot real moments without feeling like you’re intruding on someone’s day.
You’ll also get practical advice on the ethics of photographing strangers abroad, because getting the shot matters less than getting it respectfully. By the end, you’ll have a repeatable system for candid travel photography that works whether you’re in a crowded market in Marrakech or a quiet café in Lisbon.
This isn’t about buying expensive gear or memorizing rules. It’s about training your eye, your reflexes, and your instincts so authentic moments stop slipping past you.
What Makes Candid Travel Photography So Powerful
A posed tourist photo tells you where someone stood. Candid travel photography tells you how a place actually felt. That difference is why unposed shots tend to hold up years later, while staged photos in front of landmarks start to feel interchangeable.
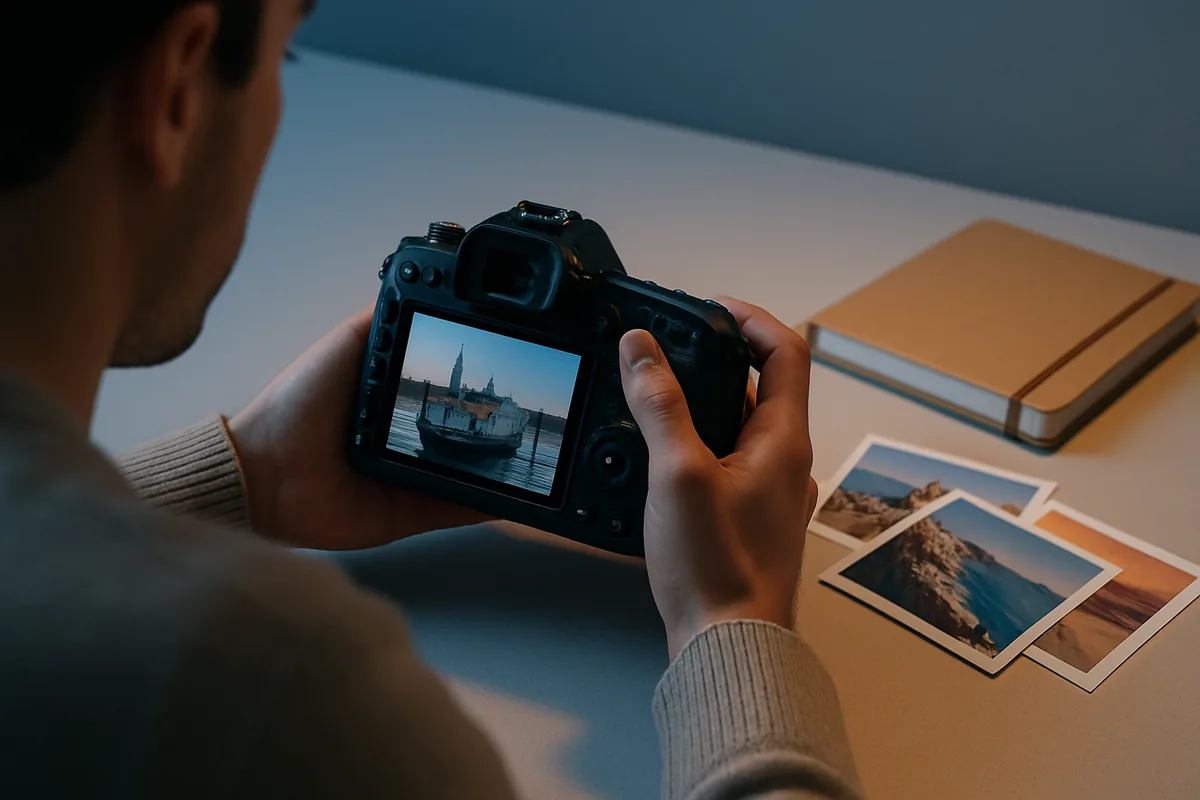
The difference between candid and posed shots
A posed shot is a negotiation between photographer and subject — everyone knows a camera is present, and behavior shifts because of it. A candid shot captures behavior that would have happened whether or not you were there with a camera. That’s the entire value proposition of candid travel photography: it removes the performance and keeps the truth.
Think about the difference between a vendor smiling stiffly for a photo versus a vendor mid-laugh while haggling with a customer. The second image has tension, humor, and narrative. The first just has a face.
Why authenticity connects with viewers
Photographers like Steve McCurry and Alex Webb didn’t build careers photographing landmarks. They built careers photographing glances, gestures, and fleeting overlaps of light and human behavior in the streets of India, Cuba, Mexico, and beyond. Their work holds up because it reads as observed rather than arranged.
Viewers respond to that honesty on an instinctive level, even if they can’t articulate why. When you practice candid travel photography, you’re not just documenting a trip — you’re building a visual record that feels emotionally true, which is exactly what separates a memorable travel portfolio from a stack of snapshots.
Essential Gear for Candid Travel Photography
You don’t need a pro-level kit for candid travel photography — you need a kit that doesn’t announce itself. A giant DSLR with a 70-200mm lens draped around your neck signals “photographer” to everyone in a 30-foot radius, and people change behavior around visible cameras.
Best camera bodies and lenses for discreet shooting
Compact mirrorless cameras and fixed-lens compacts are the go-to choice for street and candid travel photography because they’re quiet, small, and easy to operate with one hand. Here’s a practical comparison of gear that photographers actually use for this kind of work:
| Camera | Approx. Price | Why It Works for Candid Shooting |
|---|---|---|
| Fujifilm X100VI | $1,599 | Fixed 35mm-equivalent lens, silent leaf shutter, retro body that reads as “hobbyist” rather than “pro” |
| Ricoh GR IIIx | $1,099 | Pocketable, fast to draw and shoot, near-silent operation, snap focus mode built in |
| Sony a7C II + 35mm f/1.8 | Body around $2,199, lens around $748 | Full-frame image quality in a small body, fast autofocus for reacting to movement |
If you’re shooting on a phone instead, that’s genuinely fine — some of the best candid travel photography happens with a phone because nobody looks twice at someone holding one up. Our guide on travel photography with a phone covers how to get professional-looking results without a dedicated camera.
Why prime lenses like the 35mm and 50mm work best
Zoom lenses tempt you to shoot from a distance, which flattens perspective and often means shooting through other tourists’ heads. A 35mm or 50mm prime forces you to get physically closer, which produces more intimate, engaged compositions — a hallmark of strong candid travel photography.
Primes are also faster (often f/1.4 to f/1.8), which helps in low light without cranking ISO into noisy territory, and they’re lighter, so you can carry a camera all day without shoulder fatigue.
Camera Settings That Keep You Ready for the Moment
The best candid travel photography moments last one to two seconds. If you’re still adjusting settings when the moment happens, it’s gone. The goal is a setup that’s “always ready” rather than something you fine-tune shot by shot.
Shutter speed and aperture for fast reaction
A reliable starting point is 1/250s shutter speed to freeze casual movement like walking or gesturing, paired with an aperture around f/5.6 to f/8 for enough depth of field to keep both a subject and their surroundings sharp. Set Auto ISO with a ceiling around 3200 so the camera compensates for shifting light without you touching a dial.
Switch your drive mode to continuous shooting (usually 3-8 frames per second on mirrorless bodies) so a single trigger pull captures a small sequence. Expressions change fast, and having three frames instead of one dramatically increases your odds of nailing the exact instant.
Using zone focusing and back-button autofocus
Zone focusing means pre-setting your focus distance (say, 8 feet) and aperture (f/8) so anything within that zone is sharp without the camera hunting for focus. Street photographers have used this technique for decades because it eliminates autofocus lag entirely — you just point and shoot.
Back-button autofocus, where you separate focus from the shutter button, lets you lock focus once and recompose freely without refocusing every time you press the shutter. Combined, these two techniques mean your camera is never the bottleneck in your candid travel photography workflow.
- Shutter speed: 1/250s (bump to 1/500s for kids, animals, or crowded markets)
- Aperture: f/5.6-f/8 for zone focusing
- ISO: Auto, capped at 3200
- Drive mode: Continuous/burst, low or medium setting
- Focus: Zone focus or back-button AF with continuous tracking
How to Approach Candid Travel Photography Without Feeling Intrusive
The technical side of candid travel photography is the easy part. The harder skill is positioning yourself so you can shoot without the scene collapsing the moment someone notices you.
Blending into the scene instead of standing out
Dress like the environment, not like a tourist on assignment. Skip the multi-pocket vest and the camera strap with a giant brand logo — both scream “professional photographer” and make people self-conscious. Carry your camera low, near your waist, ready to lift and shoot in under two seconds.
A wide-angle lens (28mm to 35mm) used from close range often reads as less threatening than a long telephoto used from across the street, because a telephoto lens pointed at someone from a distance looks deliberately surveillance-like. Getting close with a wide lens and moving naturally through a space tends to draw far less suspicion.
Reading body language and choosing the right moment
Watch for open body language — relaxed shoulders, engaged conversation, focused activity like cooking or repairing something. These are the moments people are least aware of a camera, and they photograph far more naturally than someone standing idle and self-aware.
One of the most effective techniques in candid travel photography is simply staying put. Pick a spot with good light and interesting background — a market stall, a doorway, a street corner — and wait 10 to 15 minutes. Let the scene come to you instead of chasing it; people stop noticing a stationary photographer far faster than one who’s constantly moving and pointing a lens.
Composition Techniques for Authentic Travel Moments
Good candid travel photography isn’t just about timing — it’s about building a frame that has structure even when the subject inside it is unpredictable.
Using leading lines and layering in busy street scenes
Alex Webb is known for layering multiple subjects at different depths within a single frame — a person in shadow in the foreground, another mid-frame in bright light, a third partially hidden in the background. This layering technique turns a chaotic street into a composition with visual rhythm, and it’s a skill you can practice deliberately by scanning a scene for three distinct depth planes before you raise the camera.
Leading lines — a street, a row of market stalls, a line of parked scooters — pull the viewer’s eye toward your subject and give busy scenes a sense of order. Look for these lines before you commit to a position.
Framing with foreground elements for depth
Shooting through a market stall, a doorway, a window, or even a crowd of shoulders adds depth and a sense of “being there” that a flat, head-on shot doesn’t achieve. Henri Cartier-Bresson called the instant when composition and action align perfectly the “decisive moment,” and framing devices like these give you a compositional structure that’s ready the instant that action happens.
If you’re working in an urban environment, our guide to capturing buildings and streets has more on using architecture as a natural frame for candid travel photography subjects.
Ethics and Etiquette in Candid Travel Photography
Getting a great shot doesn’t override someone’s right to privacy or comfort. Ethical candid travel photography means knowing when to shoot quietly and when to ask first.
When to ask permission versus shoot first
General rule of thumb: shoot first in public settings where people are part of a broader scene (a crowded plaza, a festival, a street performance), and ask permission when you want a tighter, more personal portrait of one individual — especially children, religious figures, or anyone in a vulnerable situation. A quick smile, a point at your camera, and a nod usually gets you a “yes” without needing a shared language.
Respecting cultural sensitivities around photographing people
Photography laws and cultural norms vary significantly by country. France, for example, recognizes a legal concept called droit à l’image, giving individuals more control over their own image than is typical in the United States, where photographing people in public spaces is generally permitted without consent. Before a trip, it’s worth checking a country’s specific customs — some cultures consider photographing certain religious sites or ceremonies deeply disrespectful regardless of local law.
If someone notices you and objects, lower the camera immediately, smile, and if needed, show them the photo and offer to delete it. Compliance costs you nothing and preserves the reputation of every photographer who visits after you. For a broader look at planning shoots respectfully and efficiently, see our travel photography tips for your next trip.
The U.S. government’s official portal outlines general public photography rights domestically, while local tourism boards abroad are usually the best source for country-specific etiquette.
Editing Candid Travel Photography for a Natural Look
Editing should reveal what was already there, not manufacture a mood that wasn’t. Heavy-handed processing is one of the fastest ways to undercut the authenticity that makes candid travel photography work in the first place.
Keeping colors and contrast true to the moment
In Lightroom, start with small adjustments: exposure within plus or minus half a stop, white balance corrected to match the actual light temperature (not warmed up artificially), and contrast nudged up slightly, maybe +10 to +15, to add punch without flattening detail. Skin tones should stay believable — resist the urge to push orange or magenta sliders for a “cinematic” look that reads as fake the moment you compare it to reality.
Avoiding over-processing that ruins authenticity
Skip heavy vignettes, oversaturated presets, and aggressive clarity/texture sliders that give skin an artificial, plastic quality. Crop carefully — tightening a frame can strengthen composition, but never crop so tight that you cut off the gesture or expression that made the moment worth photographing in the first place.
A light, consistent editing style across a set of candid travel photography images also helps your portfolio feel cohesive, rather than like a pile of disconnected experiments.
Common Mistakes to Avoid in Candid Travel Photography
Most beginner mistakes in candid travel photography come down to hesitation or inattention, not lack of talent. Fixing these habits does more for your results than any piece of gear.
Hesitating too long and missing the shot
Waiting until a moment looks “perfect” almost guarantees you’ll miss it — by the time you’ve convinced yourself to shoot, the gesture, glance, or interaction has already changed. Train yourself to shoot the moment you feel the pull, even if the framing isn’t ideal; a slightly imperfect frame of a real moment beats a perfectly composed frame of nothing happening.
Ignoring the background clutter
A trash can, a stray tourist in a bright shirt, or a sign in the wrong spot can wreck an otherwise strong image. Before you commit to a position, do a quick scan of the background — not just the subject — because in candid travel photography you often don’t get a second take.
Other frequent errors worth watching for:
- Shooting from too far away and relying on digital zoom, which destroys image sharpness
- Over-relying on burst mode instead of learning to anticipate the moment, which fills your card with near-misses
- Skipping the review process — scrolling back through missed shots teaches you far more about timing than any tutorial
- Shooting only in harsh midday light instead of working around better conditions, covered in our piece on the best time of day for travel photography
Building Your Own Candid Travel Photography Habit
Candid travel photography rewards repetition more than gear. The photographers who consistently come home with strong, honest images are the ones who’ve practiced positioning themselves, reading a scene, and pulling the trigger without overthinking it — often hundreds of times before it starts to feel natural.
Start small on your next outing, even locally: pick one busy spot, set your camera to zone focus or back-button AF, and give yourself 15 minutes to just watch and shoot without moving. That single habit, repeated on every trip, is what separates snapshots from a genuine body of work in candid travel photography.
Frequently Asked Questions
What is candid travel photography?
Candid travel photography means capturing people and scenes as they naturally happen, without posing or direction from the photographer. The goal is to document real emotions, gestures, and interactions exactly as they unfold in the moment.
What is the best camera for candid travel photography?
Compact mirrorless cameras like the Fujifilm X100VI ($1,599) or Ricoh GR IIIx ($1,099) are popular because they're small, quiet, and don't draw attention. A DSLR with a 35mm or 50mm prime lens also works well if you keep the setup lightweight.
Is it legal to photograph strangers while traveling?
In most countries, including the US, photographing people in public spaces is legal, but publishing or selling those images may require consent depending on local laws. Countries like France have stricter image rights laws, so it's worth researching local regulations before your trip.
How do you take candid photos without people noticing?
Use a compact camera, keep your movements natural, and shoot from the hip or while pretending to check your screen. Standing still in one spot for several minutes so people forget you're there often works better than chasing a shot.
What settings should I use for candid travel photography?
A shutter speed of at least 1/250s, an aperture around f/5.6-f/8 for zone focusing, and auto ISO up to 3200 give you enough flexibility to react quickly. Continuous autofocus and burst mode help you catch fleeting expressions.
Should I ask permission before taking a candid photo?
It depends on the context and culture. Many photographers shoot first and then smile or show the photo afterward if the subject notices, since asking beforehand often changes the natural expression you were trying to capture.

Mark Finley is a professional photographer, educator, and the founder of FormLovers. With years of experience behind the lens, Mark has transitioned from a passionate hobbyist to an industry professional, capturing stunning visuals and mastering the business of photography.