Reflection photography turns ordinary scenes into something that stops people mid-scroll, whether you’re shooting a puddle on a sidewalk in Chicago or the glassy surface of Lake Louise at sunrise. This guide breaks down the gear, camera settings, and creative techniques that separate a flat, uninspired shot from one that makes viewers look twice. You’ll learn how to work with water, glass, mirrors, and everyday reflective surfaces to build images with real visual punch.
I’ve spent years chasing calm water and rain-slicked streets specifically because reflections do half the storytelling for you. A good reflection doubles your subject, adds symmetry, and often introduces a surreal quality that straight-on shots can’t match. Once you understand the mechanics, you’ll start noticing reflective opportunities everywhere you go.
This article covers water reflection photos, mirror and glass techniques, portrait applications, and the editing moves that make symmetry shots look intentional rather than accidental. By the end, you’ll have a practical toolkit for reflection photography that works whether you’re shooting with a full-frame mirrorless body or your phone.
What Is Reflection Photography and Why It Works So Well
Reflection photography is exactly what it sounds like: capturing a subject alongside its mirrored image on a reflective surface like water, glass, or polished metal. The technique has been around as long as photography itself, but it’s had a resurgence thanks to Instagram-era compositions built around perfect symmetry. Photographers use it to add depth, drama, and a sense of stillness to otherwise ordinary scenes.
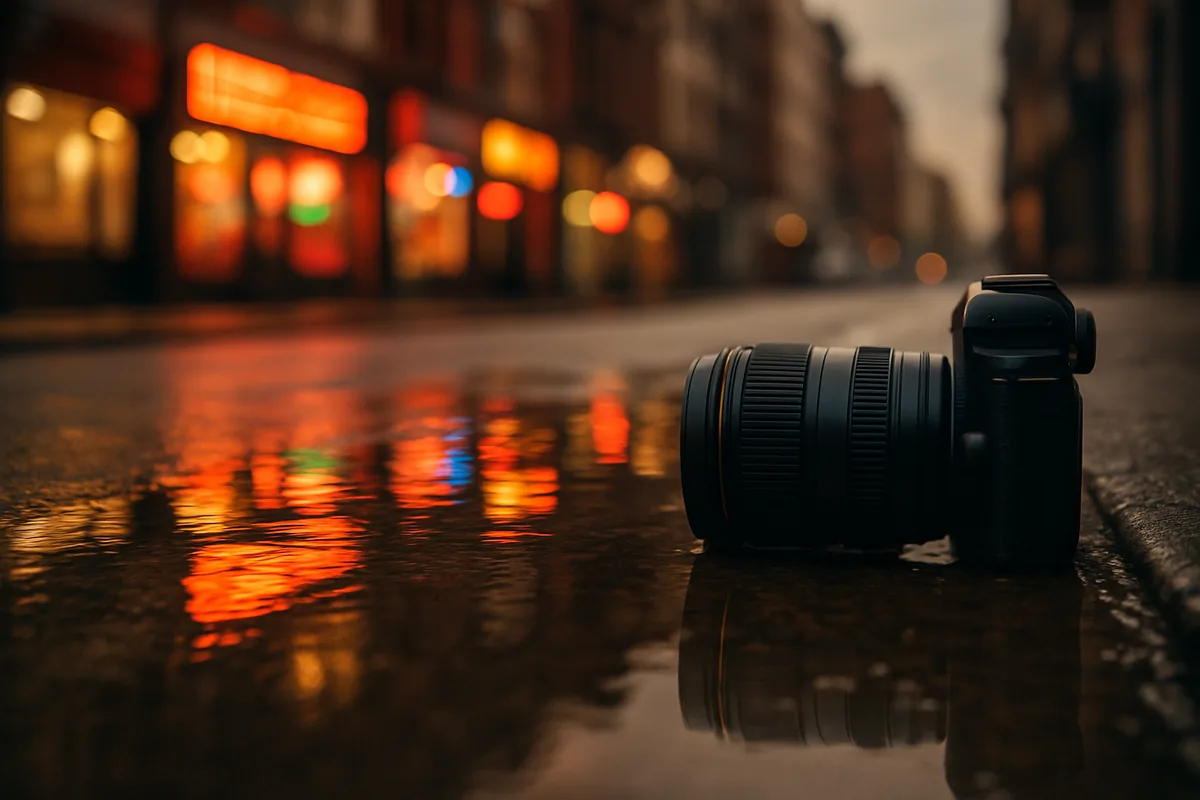
What makes reflection photography so compelling is simple: our brains are wired to notice symmetry. A mirrored skyline or a doubled mountain peak creates a pattern that feels both orderly and slightly unreal, which is exactly the tension that makes a photo memorable. It’s the same reason iconic shots like the puddle reflections in Antelope Canyon or the Manhattan skyline mirrored in the Hudson River at dusk get shared over and over.
The visual psychology behind symmetry and mirroring
Symmetrical images trigger a sense of balance and calm in viewers, which is why reflection photography tends to perform well on social platforms and in print portfolios alike. When you flip a subject vertically or horizontally, you’re also doubling the amount of visual information in the frame without adding clutter. That combination of order and richness is rare in photography, and it’s part of why this genre has such staying power.
There’s also an element of surprise. A reflected image can look like a painting or a dream sequence, especially when the water is still enough that the line between real and reflected becomes almost invisible. That subtle “which way is up” confusion is part of the appeal.
Common surfaces photographers use for reflections
You don’t need a perfect alpine lake to practice reflection photography. Here are the surfaces that show up most often in strong reflection shots:
- Still lakes and ponds, especially at sunrise or sunset
- Rain puddles on streets, sidewalks, and parking lots
- Storefront and skyscraper windows in downtown areas
- Handheld or wall-mounted mirrors
- Polished metal surfaces like car hoods or stainless steel sculptures
- Wet sand along a beach at low tide
Each surface behaves differently depending on light and angle, which is why professional reflection photography often involves scouting a location more than once before the shot actually happens.
Essential Gear for Reflection Photography
You don’t need exotic equipment to start shooting reflections, but a few pieces of gear make the process a lot easier. A sturdy tripod is probably the single most useful tool, since many of the best reflection shots happen in low light at sunrise or sunset when a slow shutter speed is unavoidable. I use a basic aluminum tripod that costs around $80, and it’s more than enough for this kind of work.
Lens choice depends on your subject. A wide-angle lens, something in the 16-35mm range, works well for landscape reflections like lakes and skylines because it lets you include both the subject and its mirrored twin in one frame. For close-up work, like photographing raindrops or small puddle reflections, a macro lens or even a phone’s macro mode can produce surprisingly detailed results.
Camera settings that make reflections pop
Getting sharp focus across both the subject and its reflection means you generally want more depth of field than you’d use for a typical portrait. Here’s a quick reference for settings that consistently work well in reflection photography:
| Setting | Recommended Range | Why It Matters |
|---|---|---|
| Aperture | f/8 to f/16 | Keeps both subject and reflection in focus |
| ISO | 100 to 200 | Reduces noise since you’re often using a tripod anyway |
| Shutter Speed | 1/125s or faster for freezing ripples; 1 to 4 seconds for smoothing water | Controls whether the reflection looks crisp or dreamy |
| White Balance | Manual, matched to golden hour tones | Prevents color shifts between the sky and its reflection |
I shoot most of my reflection photography on a Nikon Z6 III, but you don’t need anything close to that price point. A used APS-C body with a kit lens will handle this genre fine, since the technique matters far more than the sensor size.
Do you need a polarizer filter?
This is where things get interesting, because a polarizing filter can either help or hurt your shot depending on your goal. A circular polarizer, like a $40 B+W option, cuts glare off water and glass, which is great when you want to see through a surface rather than reflect off it. But if the reflection itself is your subject, you actually want to dial back the polarizer’s effect or skip it entirely, since it can weaken or eliminate the mirrored image you’re trying to capture.
My general rule: rotate the polarizer slowly while looking through the viewfinder and stop the moment the reflection looks its strongest, not its weakest. That sweet spot is different for every scene and every time of day.
Water Reflection Photography: Lakes, Puddles, and Rivers
Water reflection photos are the bread and butter of this genre, and calm conditions are non-negotiable if you want a clean mirror effect. Wind is the enemy here, so mornings tend to outperform afternoons since thermal winds haven’t picked up yet. Sunrise at Lake Louise in Banff National Park is a classic example, where glassy water in the first hour of light produces textbook mountain reflections.
If you’re working near moving water like a river, look for eddies or slower side channels where the current briefly stalls. Even a few feet of still water next to a fast-moving river can be enough for a usable reflection shot.
Shooting calm lake reflections at golden hour
Golden hour light does double duty in reflection photography: it warms the scene and it tends to coincide with the calmest water of the day. Arrive at least 30 minutes before sunrise or after sunset to scout your composition before the light gets dramatic. Set your aperture to f/11, keep ISO low, and use a tripod so you can fine-tune shutter speed without worrying about camera shake.
Pay attention to the horizon line placement. Centering it exactly in the frame creates a perfectly symmetrical composition, while placing it slightly off-center gives more weight to either the sky or the reflection depending on which one is more visually interesting that day.
Using puddles after rain in urban settings
Puddle reflection photography is one of the most accessible entry points into this genre because you don’t need to travel anywhere scenic. City streets after a rain shower turn into instant mirrors for streetlights, neon signs, and passing pedestrians. Getting low, sometimes just inches off the ground, dramatically increases the size and clarity of the reflection in your frame.
Try shooting through a puddle to capture a reflected building or person, then recompose slightly to include some of the “real” scene above the waterline for context. If you’re into moving water and waterfalls too, the techniques for controlling shutter speed overlap quite a bit with what’s covered in this guide on capturing moving water in waterfall photography.
Mirror and Glass Reflection Photography Techniques
Glass and mirror surfaces introduce a different set of challenges than water because they’re often vertical, which means your own body and camera can end up in the shot unintentionally. Shooting at an angle rather than straight-on usually solves this, letting you capture the reflection without becoming part of it. This is especially useful when photographing storefront windows or glass office towers.
Chicago’s Cloud Gate sculpture, better known as “The Bean,” is one of the most photographed reflective surfaces in the country precisely because its curved steel distorts the skyline in playful, ever-changing ways. Studying how photographers compose around it is a great crash course in working with curved reflective metal.
Working with building windows and storefronts
Downtown architecture offers endless reflection photography opportunities, particularly during the hour after sunset when interior lights and exterior colors mix. Look for glass facades that face west, since they’ll catch warm light and reflect it back with extra intensity. A polarizer can help here too, letting you decide how much of the interior of the building shows through versus how much stays purely reflective.
If street-level architecture is your focus, it’s worth pairing these reflection techniques with the composition advice in this guide to capturing buildings and streets in city photography, since many of the same framing principles apply.
Using handheld mirrors as creative props
A small handheld mirror, the kind you can buy for under $15, opens up a surprising amount of creative control. Portrait photographers use them to bounce a reflected image of the subject’s face into the frame, creating a split or doubled composition that feels intentional and editorial. Product photographers do something similar to show two angles of an object in a single shot.
The trick is positioning the mirror at roughly a 45-degree angle to your lens axis so the reflection reads clearly rather than looking like a random glare. Small adjustments of just a few degrees can completely change what the mirror shows.
Reflection Photography Ideas for Creative Compositions
Once you’ve got the technical basics down, reflection photography really opens up as a playground for creative composition. The genre rewards experimentation because reflective surfaces rarely behave exactly the same way twice, even in the same location. Small changes in angle, light, or water movement can produce completely different results.
Here are some reflection photography ideas worth trying on your next outing:
- Flip the final image vertically so the reflection reads as the “real” scene and the actual subject becomes the mirror image
- Photograph sunglasses lenses up close to capture a tiny, curved reflected world
- Use a car hood or polished motorcycle tank as an unconventional reflective surface
- Shoot rippled water for intentionally abstract, painterly distortions
- Frame a subject between two mirrors for an infinity effect
Symmetry and the flip technique
The flip technique is popular in travel and landscape reflection photography because it disorients the viewer just enough to make them look twice. To use it well, find a scene where the reflection is nearly as sharp as the real subject, then rotate the final image 180 degrees so what was underwater now appears on top. It works especially well with reflected skylines and mountain ranges where the “sky” becomes ambiguous.
This technique pairs naturally with the kind of dramatic lighting discussed in this piece on camera settings for sunset travel photography, since warm, saturated skies make the flipped version even more striking.
Abstract and distorted reflections
Not every reflection needs to be perfectly clean. Rippled water, textured glass, and curved metal all introduce distortion that can turn a straightforward reflection into something closer to abstract art. A slightly longer shutter speed, around half a second to two seconds, smooths out ripples into soft streaks of color that read more like a painting than a photograph.
This approach works particularly well with neon signs and colorful storefronts reflected in wet pavement, where the distortion actually amplifies the color and mood of the shot.
Reflection Photography in Portrait and Street Sessions
Street photographers have long used puddle reflections to add narrative depth to otherwise simple scenes. A single pedestrian crossing a rain-soaked street in New York or London becomes twice as interesting when their reflection stretches across wet asphalt underneath them. It’s a technique that costs nothing beyond patience and a willingness to get your knees wet.
If you’re building a broader travel photo story around a rainy city, reflection shots are a natural fit alongside the narrative techniques covered in this guide to creating a photo story through travel photography.
Using reflections to add context in street photography
Beyond puddles, shop windows and glass bus shelters give street photographers a way to show two things at once: the subject in front of the glass and whatever’s reflected behind the camera. This layering technique adds visual complexity without requiring a wider lens or a different vantage point. It’s especially effective in busy areas with lots of ambient light, like Times Square at night or Shibuya Crossing in Tokyo.
Portrait poses with reflective surfaces
For portrait sessions, reflections add a sense of intimacy or introspection that a straightforward headshot can’t achieve. Positioning a subject near a large mirror or a reflective window lets you capture both their face and a partial reflection in the same frame, which reads as more thoughtful and layered than a standard pose. Handheld mirrors work well for tighter, more controlled setups, especially in studio environments.
A subtle tilt of the mirror can also change the mood entirely, turning a straightforward portrait into something that feels more like a candid, in-the-moment capture.
Common Mistakes to Avoid in Reflection Photography
Reflection photography looks simple, but there are a handful of mistakes that show up constantly in beginner work. Most of them come down to focus, exposure, or simply not paying enough attention to the edges of the frame. Catching these early saves a lot of frustration in post-processing.
Focus and exposure errors
One of the most common issues is focusing on the reflection instead of the actual subject, or vice versa, which leaves one half of the image soft. Using a narrower aperture like f/11 or f/16 helps create enough depth of field to keep both in focus, especially when the subject and its reflection are at different distances from the camera. Bright reflective surfaces, particularly water and glass under direct sun, can also blow out highlights, so it’s worth checking your histogram rather than trusting the LCD screen alone.
Composition pitfalls that ruin the shot
It’s easy to get so focused on the reflection itself that you forget to check the rest of the frame for distractions like trash floating in a puddle or a stray car in the background of a mirrored skyline. Always do a quick scan of the edges before pressing the shutter. Shooting handheld in low light without a tripod is another common issue, since even a slight amount of camera shake becomes obvious in a symmetrical composition where any blur is doubled.
If you’re shooting reflection photography on a phone rather than a dedicated camera, many of these same focus and stability issues apply, and it’s worth reviewing tips for getting sharper photos with your phone before heading out.
Editing Reflection Photos for Maximum Impact
Post-processing can make or break a reflection shot, especially when it comes to symmetry and color balance. The good news is that most of the adjustments needed are fairly basic and don’t require advanced editing skills, just a careful eye for detail.
Basic Lightroom adjustments for symmetry shots
Start by using the crop tool to fine-tune the horizon line, since even a slightly crooked reflection is more noticeable than a crooked horizon in a regular landscape shot. Boosting clarity and contrast slightly helps the reflected image separate from the real subject, which can look a bit soft straight out of camera. The transform tool in Lightroom is useful for correcting any perspective distortion, particularly when shooting building reflections at an angle rather than straight-on.
A small boost in vibrance, rather than saturation, tends to make water and glass reflections pop without pushing colors into unrealistic territory.
When to flip or mirror an image in post
Flipping an image vertically to emphasize the reflection over the real subject is a common creative choice in reflection photography, and there’s nothing dishonest about it as long as you’re transparent that it’s a stylistic edit rather than a factual record. Where it gets murkier is if you’re duplicating and mirroring a subject that wasn’t actually reflected in the original scene, since that crosses into composite territory rather than straight reflection photography. For editorial or documentary work, it’s best to stick to genuine reflections rather than manufactured ones.
According to the Smithsonian Institution, reflection has been a recurring subject in visual art for centuries, which is a good reminder that this technique has roots well beyond modern photography trends.
Your Next Move With Reflection Photography
Reflection photography rewards patience more than expensive gear. A calm lake at sunrise, a rain puddle after a storm, or even a $15 handheld mirror can produce images with real visual weight once you understand aperture, timing, and angle. Start small: find one puddle or window near your home this week and shoot it at three different times of day to see how light changes the reflection.
Keep a mental list of reflective surfaces you pass regularly, whether it’s a coffee shop window or a stainless steel building lobby, and revisit them when the light or weather shifts. Reflection photography is one of the few genres where the same location can produce a completely different photo every single time you show up.
Frequently Asked Questions
What camera settings are best for reflection photography?
Use a narrow aperture like f/8 to f/16 for sharp focus across the water and subject, keep ISO low at 100-200 to avoid noise, and mount your camera on a tripod for stability. A polarizing filter also helps control glare and enhance color saturation in the reflection.
Do I need a polarizing filter for reflection photography?
Not always, but a circular polarizer gives you control to reduce or enhance surface glare depending on how you rotate it. For calm water reflections you might want less polarization to keep the mirror effect, while glass or wet pavement often benefits from cutting glare.
What's the best time of day to shoot water reflections?
Early morning around sunrise and the hour before sunset, known as golden hour, usually offers the calmest water and softest light. Wind tends to pick up midday, which breaks the mirror-like surface needed for clean reflections.
How do I avoid capturing my own reflection in glass or mirrors?
Shoot at a slight angle rather than straight-on, use a longer lens to stand farther back, or wear dark clothing that blends into shadows. Some photographers also use a rubber lens hood pressed against the glass to eliminate glare and their own reflection entirely.
Is it okay to flip an image horizontally in editing for reflection photography?
Yes, flipping is a common and accepted practice in reflection photography, especially for symmetry shots, as long as you're not entering a photojournalism or documentary contest with strict authenticity rules. For creative and artistic work, it's considered a normal part of the process.
What surfaces work best for reflection photography besides water?
Wet pavement after rain, storefront windows, polished car hoods, sunglasses lenses, and handheld mirrors all create compelling reflections. Chrome surfaces and stainless steel architecture, like Chicago's Cloud Gate sculpture, are also popular subjects among urban photographers.

Mark Finley is a professional photographer, educator, and the founder of FormLovers. With years of experience behind the lens, Mark has transitioned from a passionate hobbyist to an industry professional, capturing stunning visuals and mastering the business of photography.