Learning how to fix dark photos is one of the most useful editing skills you can build, whether you’re rescuing a wedding shot taken in a dim reception hall or a landscape frame snapped just as the light dropped too fast. The good news is that most underexposed images hold way more detail than they show on first glance, especially if you shot in RAW. The bad news is that a heavy-handed brightness slider turns a rescue into a flat, gray, obviously “edited” mess.
In this guide, I’ll walk you through how to fix dark photos in Lightroom and Photoshop step by step, plus a quick mobile route using Snapseed if you don’t have desktop software handy. You’ll learn how to brighten a photo naturally, recover shadow detail without noise taking over, and use local adjustments so the fix reads as good lighting instead of a rescue job.
I’ll also cover exposure correction in editing from a technical angle — why some files recover beautifully and others fall apart — so you know what to expect before you even open your editor. By the end, you’ll have a repeatable process for underexposed photo recovery that works on everything from phone snapshots to full-frame RAW files.
Why Dark Photos Happen in the First Place
Before you learn how to fix dark photos in post, it helps to know why they happen. Most underexposure comes down to one of two things: a camera setting that told your sensor to gather less light than the scene needed, or a lighting situation that fooled your camera’s meter into thinking the scene was brighter than it actually was.
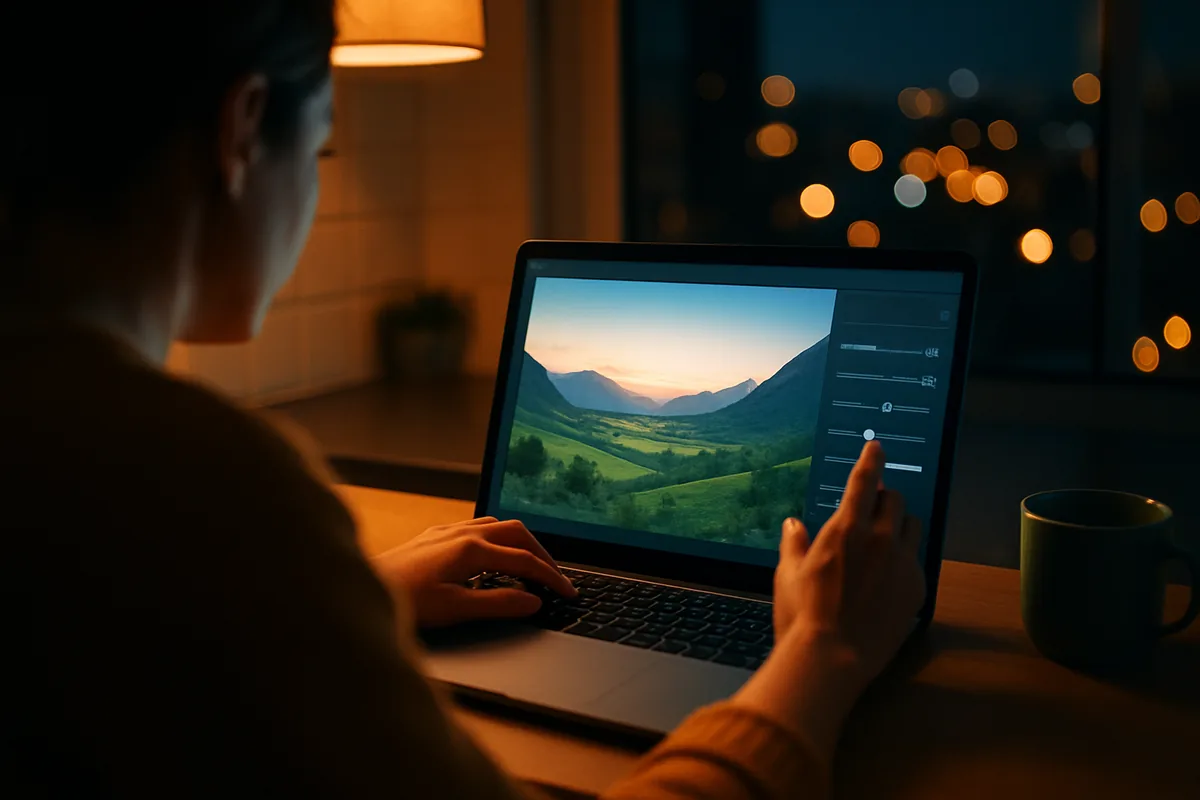
Common camera settings that cause underexposure
Shooting in manual or aperture priority with the wrong shutter speed is the most common culprit. Say you’re at ISO 100, f/8, and 1/250s under overcast light — a combination that sounds reasonable but can leave your RAW file 1.5 stops darker than it should be if the meter read off a bright patch of sky. Negative exposure compensation left over from a previous shoot is another sneaky cause; I’ve seen photographers leave it at -1 EV after a bright beach session and forget to reset it before shooting indoors.
Shooting conditions that trick your meter
Backlit scenes, snow, bright skies, and high-contrast subjects all confuse standard metering modes. A person standing in front of a window will often come out as a silhouette because the camera exposes for the bright background instead of the face. Center-weighted and spot metering help, but even experienced shooters end up with underexposed frames in these conditions and lean on editing to bring the detail back.
Fixing exposure in-camera is always the better starting point — dialing in positive exposure compensation, switching metering modes, or adding a flash fill can prevent the problem entirely. But when you’re stuck with a dark file after the shoot, understanding how to fix dark photos in your editor becomes the next best option.
What You Need Before You Start Editing
Not every dark photo recovers the same way, and the file format you shot in makes a bigger difference than most people expect.
RAW vs JPEG for recovery
A RAW file from a modern camera like the Sony A7 IV or Canon R6 II can hold somewhere around 12 to 14 stops of dynamic range, while an in-camera JPEG is compressed down to roughly 8 stops. That gap is the difference between pulling clean, usable shadow detail out of a dark frame and pulling up a wall of blotchy noise and banding. If you’re serious about underexposed photo recovery, shoot RAW whenever you can — even RAW+JPEG gives you a safety net.
If all you have is a JPEG, you can still learn how to fix dark photos to a reasonable degree, but expect less flexibility in the shadows and more visible noise once you push the exposure up.
Choosing the right software (Lightroom, Photoshop, Snapseed)
You don’t need an expensive suite to get real results. Here’s a quick comparison of the tools most photographers reach for:
| Tool | Cost | Best for |
|---|---|---|
| Lightroom Classic / Lightroom CC | Subscription (Adobe Photography Plan) | Global exposure fixes, masking, batch editing RAW files |
| Photoshop Camera Raw | Included with Photoshop subscription | Pixel-level control, layered local adjustments |
| Darktable | Free | Full RAW editing on a budget, similar workflow to Lightroom |
| Snapseed | Free | Fast mobile edits, Selective and Curves tools on the go |
If you’re working on a laptop, learning to fix dark photos in Lightroom gives you the most control over masking and noise reduction in one place. If you already own Photoshop, fixing dark photos in Photoshop through the Camera Raw filter gets you the same sliders plus layer-based local work. Whichever program you pick, the logic behind how to fix dark photos stays the same: recover global exposure first, protect your highlights and shadows, then move into selective brightening.
How to Fix Dark Photos Step by Step Without Losing Quality
This is the process I use on nearly every underexposed RAW file, whether it’s a portrait shot in a dark cafe or a travel photo taken at dusk. Follow these steps in order — skipping ahead to the brightness slider is exactly how photos end up looking artificial.
Step 1: Adjust exposure globally
Start with the master Exposure slider. Most underexposed images need somewhere between +0.7 and +1.3 stops to get back to a normal midtone range. Push it further than that and you’ll start seeing noise climb fast, especially past ISO 1600 on the original capture.
Step 2: Lift shadows before touching blacks
Once exposure is roughly right, move to the Shadows slider and bring it up somewhere between +40 and +60. This is where you recover shadow detail without flattening the whole frame. Leave your Blacks slider slightly negative, around -5 to -15, so you keep some depth instead of a washed-out gray look.
Step 3: Recover highlights to keep contrast
Brightening shadows often pushes your brighter tones too far, so pull Highlights down slightly, around -10 to -25, to hold onto contrast. This keeps skies, windows, or bright skin tones from blowing out while your shadows are doing more of the work.
Step 4: Fine-tune with curves for a natural falloff
Instead of relying only on sliders, add a gentle S-curve in the Tone Curve panel — a small lift in the shadow region and a small dip in the highlight region. This mimics how film and the human eye naturally handle contrast, and it’s the single biggest reason a recovered photo looks natural instead of digitally rescued.
How to Fix Dark Photos Without Making Them Look Fake
This is where most tutorials on how to fix dark photos stop short. Getting the exposure right is only half the job — keeping the result believable is the other half.
Avoiding the HDR halo effect
Cranking Shadows and Clarity together, or stacking too many local adjustments in the same spot, creates that telltale glow around edges known as an HDR halo. If you notice a faint outline around trees, buildings, or hair against the sky, back off your shadow and dehaze sliders by 10 to 15 points and check again.
Keeping shadows with some depth (not everything bright)
A photo where every shadow gets lifted to match the highlights loses its sense of dimension. Real scenes have contrast — some areas naturally stay darker, and that’s what your eye reads as depth. When you’re figuring out how to fix dark photos, the goal is to recover detail in the shadows without erasing them entirely.
Matching color temperature after brightening
Shadows often shift blue or green once you brighten them, since cameras record less accurate color data in underexposed areas. After lifting exposure, check your white balance again and warm things up slightly with the Temp slider if faces or skin tones look cool or muddy. This one adjustment is what makes the difference between an edit that reads as natural and one that looks obviously brightened.
For more foundational habits that apply beyond exposure fixes, this guide on photo editing for beginners covers the basics worth mastering alongside how to fix dark photos.
Reducing Noise When You Brighten Dark Areas
Every time you push exposure or shadows up, you’re amplifying whatever noise was already hiding in that data. Managing it well is what separates a clean recovery from a grainy one, and it’s a step people skip when they’re learning how to fix dark photos in a hurry.
Noise reduction settings that preserve detail
In Lightroom’s Detail panel, start with Luminance noise reduction around 25 to 35 and Color noise reduction around 15 to 20 for a moderately underexposed file. Push Luminance much higher than 40 and you’ll start losing fine texture — skin pores, fabric weave, and foliage detail all start to smear.
When to use AI denoise tools
For heavily underexposed RAW files — anything you pushed more than 1.5 stops — Lightroom’s Denoise AI feature, usually run around a strength of 40 to 60, does a noticeably better job than the manual sliders alone. Topaz Photo AI is another solid option if you’re processing a batch of dark event photos and need consistent results fast.
Using Local Adjustments to Fix Dark Photos Selectively
Global sliders get you most of the way there, but the real trick to how to fix dark photos convincingly is knowing when to stop editing the whole frame and start editing just one part of it.
Radial and linear gradient masks
A radial filter placed over a subject’s face, set to +0.6 to +0.9 exposure, brightens just that area while leaving the rest of the frame at its original, darker tone. Linear gradients work well for skies or foregrounds that need separate treatment from the rest of the scene.
Brush tool for spot brightening a face or subject
For irregular shapes — a face turned at an angle, a pet curled up in shadow — the adjustment brush lets you paint exposure exactly where you need it. This selective approach is what separates amateur edits from professional ones, since it adds brightness with intention instead of flattening everything evenly across the frame.
If you’re building out your composition skills alongside editing, the tips in photo composition pair well with selective exposure work, since knowing where your subject sits in the frame tells you exactly where to brighten first.
Quick Fixes for Fixing Dark Photos on Your Phone
You don’t need a laptop to pull off a decent recovery. If you’re wondering how to fix dark photos on your phone right after you shoot them, these two apps cover almost everything.
Using Snapseed’s Selective and Curves tools
Open your photo in Snapseed and tap Tools then Tune Image first — bump Brightness up slightly and Shadows up more aggressively, similar to the Lightroom approach above. Then use the Selective tool to tap directly on the darkest part of the image and drag upward, which targets just that tonal range instead of the whole photo.
Editing dark photos in Lightroom Mobile
Lightroom Mobile has the same Exposure, Shadows, and Highlights sliders as the desktop version, plus Denoise, which makes it a genuinely capable option for how to fix dark photos when you’re traveling. If you shoot on an iPhone, pairing this with good in-camera habits makes a bigger difference than any edit — see this rundown of iPhone photography tips for ways to avoid underexposure before you even open an editing app.
For low-light shooting specifically, understanding your phone’s settings ahead of time prevents most of the dark-photo problem in the first place. This guide to night photography with a phone is worth a look if dim conditions are a recurring issue for you.
Turning Dark Files Into Photos You’re Proud Of
Once you’ve gone through the process a few times, how to fix dark photos stops feeling like a rescue mission and starts feeling like a normal part of your editing routine. The formula stays consistent: recover global exposure, protect your blacks, manage noise, then finish with local adjustments so the light looks like it happened in-camera.
Pick one underexposed RAW file from your library right now and run it through these steps — exposure, shadows, highlights, curve, noise reduction, then a local brush on your subject. Compare it to a photo you brightened the old way, with just a flat exposure push, and you’ll see immediately how much more natural and dimensional the how to fix dark photos method above looks by comparison.
Frequently Asked Questions
How do I fix dark photos without them looking overedited?
Lift exposure and shadows gradually in small increments, then use local adjustments instead of global ones so only the parts that need light get brighter. Always check that some shadow depth remains and that colors stay balanced, since flat, uniformly bright photos are what look fake.
Can you fix a dark photo after it's already taken?
Yes, especially if you shot in RAW format, which retains 3-4 more stops of recoverable shadow detail than JPEG. A photo shot at -1.5 stops underexposed on a full-frame camera like a Nikon Z6 III can usually be recovered with minimal quality loss.
Why do my dark photos look grainy after I brighten them?
Brightening shadows amplifies the sensor noise that was already hidden in the dark areas, which is especially visible above ISO 1600. Applying luminance noise reduction (around 25-40) or an AI denoise tool before final sharpening usually solves this.
What's the best free app to fix dark photos on a phone?
Snapseed is the best free option, offering a Tune Image tool for global exposure and shadow adjustments plus a Selective tool for brightening specific areas like a face without affecting the whole frame.
Should I fix exposure in-camera or rely on editing later?
Always try to nail exposure in-camera first by adjusting your exposure compensation by +0.7 to +1 stop in tricky lighting, since this preserves more detail and reduces noise compared to fixing it entirely in post.
Does fixing dark photos work the same in Lightroom and Photoshop?
The underlying principles are the same, but Lightroom's non-destructive sliders (Exposure, Shadows, Highlights) are faster for global fixes, while Photoshop's Camera Raw filter combined with layer masks gives more precise control for selective brightening.

Mark Finley is a professional photographer, educator, and the founder of FormLovers. With years of experience behind the lens, Mark has transitioned from a passionate hobbyist to an industry professional, capturing stunning visuals and mastering the business of photography.